All posts by Yvan

Printing TPU End Caps on a Flashforge Adventurer 3 Pro

Filament: Overture “High Speed” TPU

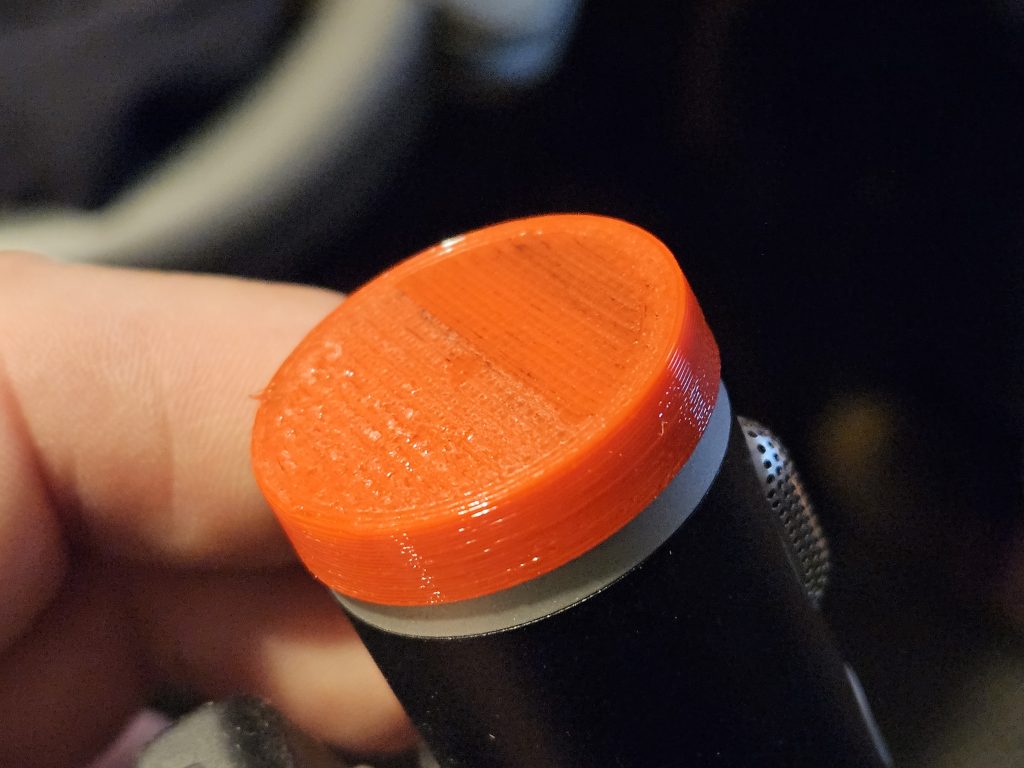
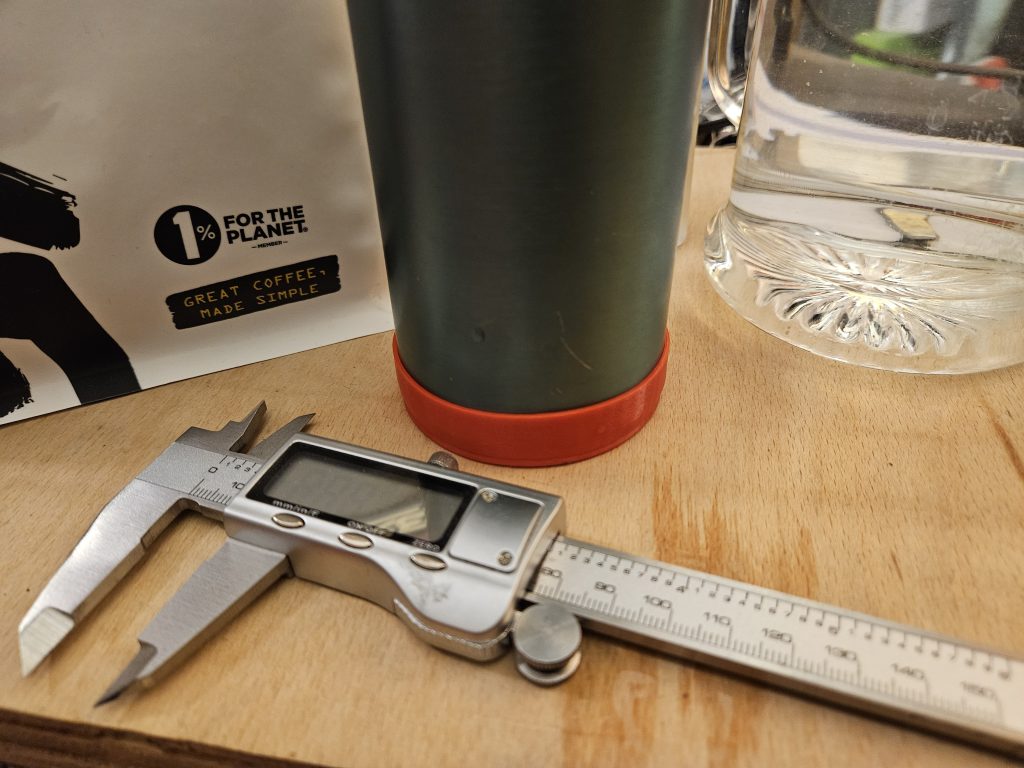
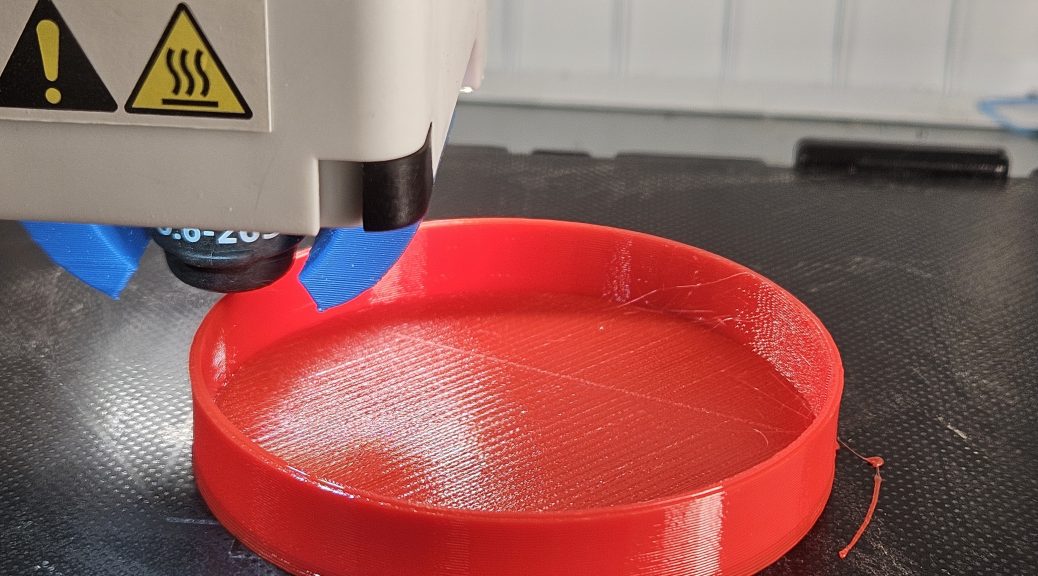
Yesterday I observed Kat draping some random glove liner over her webcam after use. Making a cap for it popped into mind as an obvious thing to do, and the 3d printer was gathering dust – the inspiration hit me. I fired up FreeCAD and knocked up about the most basic of basic 3d designs. I popped some TPU into the dehydrator. Today I lobbed the design over to the desktop, loaded it into the slicer…

A few months ago I tuned the slicer settings for getting some good basic TPU prints out of my printer (A FlashForge Adventurer 3 Pro) – it took a fair bit of fiddling. It’s not a printer that’s really suitable for TPU, especially given it’s a Bowden Tube based model rather than Direct Drive. (The foibles of this printer are a story for another time, but the basic background is I needed to print fire retardant ABS, so needed an enclosed printer, I did my research, decided on this, and it -eventually- did the job I needed. I would not choose or recommend it as a general purpose hobby 3d printer.) Of course I’d made no record of the settings, not so much as a saved FlashPrint profile… I admonished myself accordingly.

Thankfully my memory wasn’t too bad and with only one abortive attempt I got a good enough print. The key thing with printing TPU in this printer is: slowly, slowly, wins the race. Previously I spent loads of time struggling with the material clumping up in the extrusion mechanism. This time around I started slow, low retraction, and using a 0.6mm nozzle helps a lot too.

In terms of the settings in FlashPrint (the slicer that goes with this printer, I’ve never really got around to trying another slicer) I started with the “standard” 0.6mm PLA settings in FlashPrint 5.8.5 and adjusted these settings:

Printer
Extruder Temperature:
225C
Bed Temperature: 45C

General
Layer Height:
0.30mm
First Layer Height: 0.30mm (the default)
Base Print Speed: 20mm/s
Retraction Length: 2.0mm
Retract Speed: 10mm/s

Infill
Top Solid Layers:
4
Bottom Solid Layers: 4

Raft
Enable Raft:
No

Cooling
Cooling Fan Control:
Always Off

Advanced
First Layer Extrusion Ratio:
100%

Others
Z Offset: 0.05mm (entirely dependent on your calibration!)

Getting the z-height is very important of course, perhaps more important with TPU than other filaments in my experience. The reason being that whole jamming extruder problem. Too close and most filaments just “click” and skip a bit, but TPU bunches up, jams, and it all goes wrong; too far and you’ve got no adhesion! And the margin between these two is narrow. I suggest printing a base pad as a test to get it calibrated right. Every time I change filament or do my first print after a hiatus I use the printer’s bed calibration function with the bed and nozzle preheated to match the print settings, setting it up so it just lightly clamps a bit of 80gsm printer paper. Then I fiddle with the z-offset adjustment in the slicer to make it work, today the ideal seemed to be a +0.05 z-height adjustment. Tomorrow it could be different!

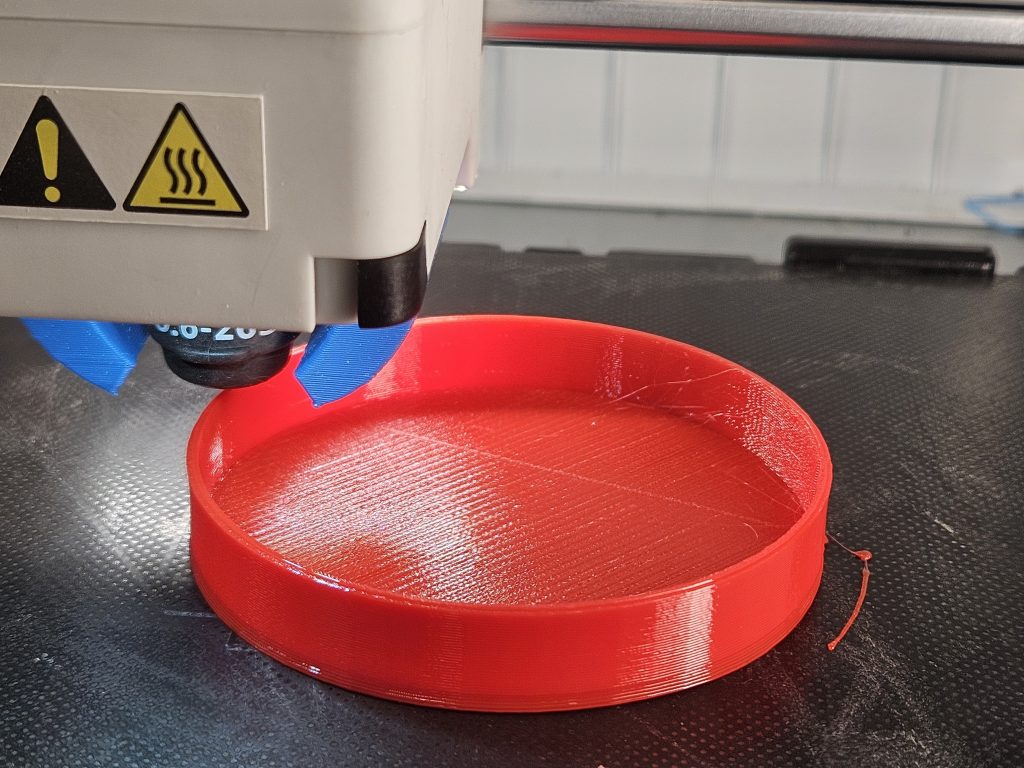
For the small cap I watched the extrusion mechanism like hawk – if you catch it quick and pull it back a bit you can save the print. It printed with zero intervention. So I was more laid back about the larger cap print… and it also printed without intervention. So it might be possible to push that print speed up a little in future, but I probably wouldn’t bother.

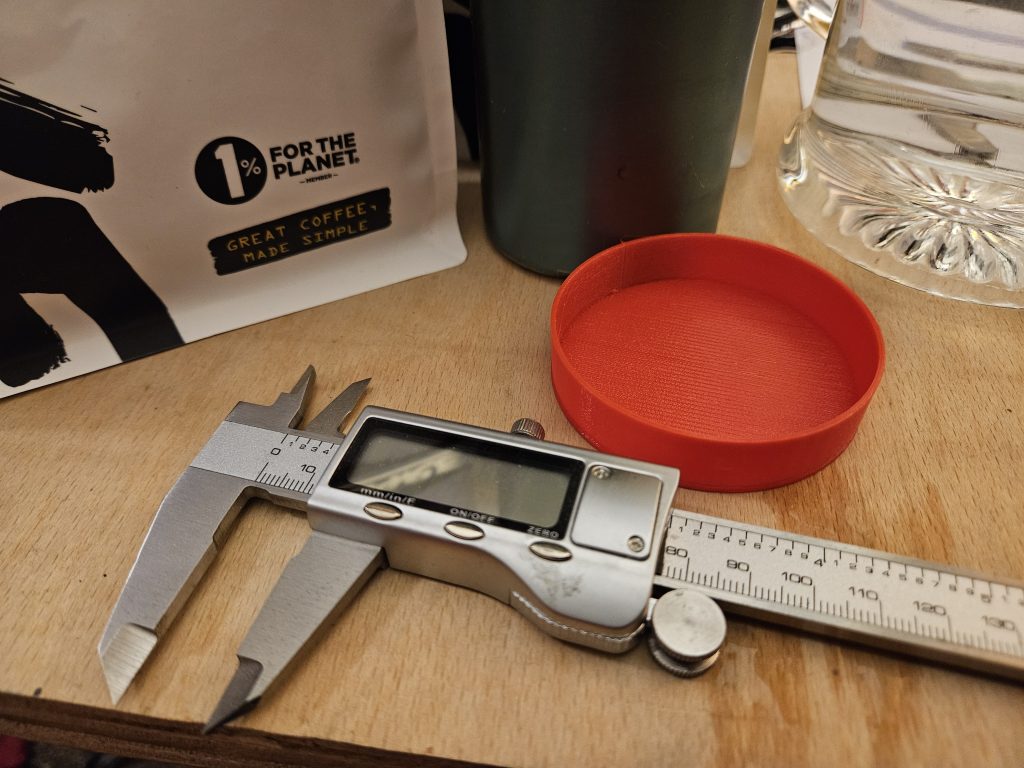
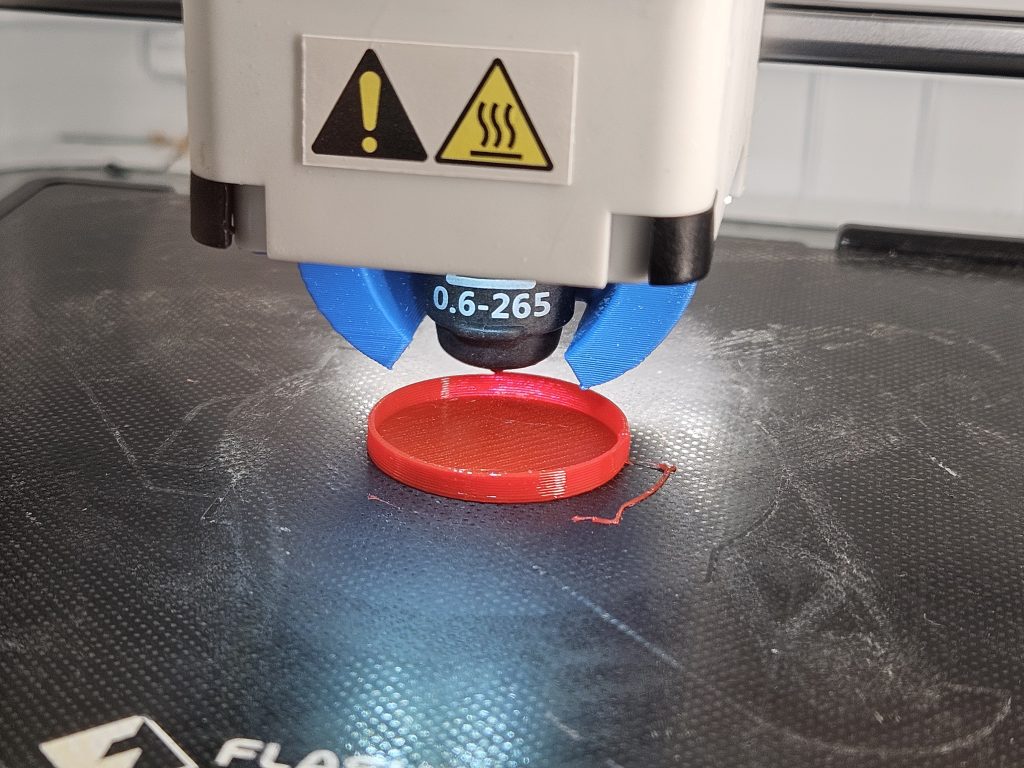
On these settings the small (28mm outer dia) cap was a mere 7 minute print, and the larger (68mm outer dia) one was a whopping 1hr 40min print! Noting that the small cap had a 1mm thick base and 1 shell thick side, and the larger one a much beefier 2mm thick base and 2 shell thick side.

I would in general recommend keeping TPU printing to a minimum with this specific printer. Small simple objects… though I did print a small squishy mesh cat one time and that worked. Mainly the reason is because the print speed is so slow… if it goes wrong in a long print you’ve got a lot of time wasted. If you want to print a lot of TPU then it seems getting a direct drive extruder is the key recommendation. (It’s on my wishlist!)
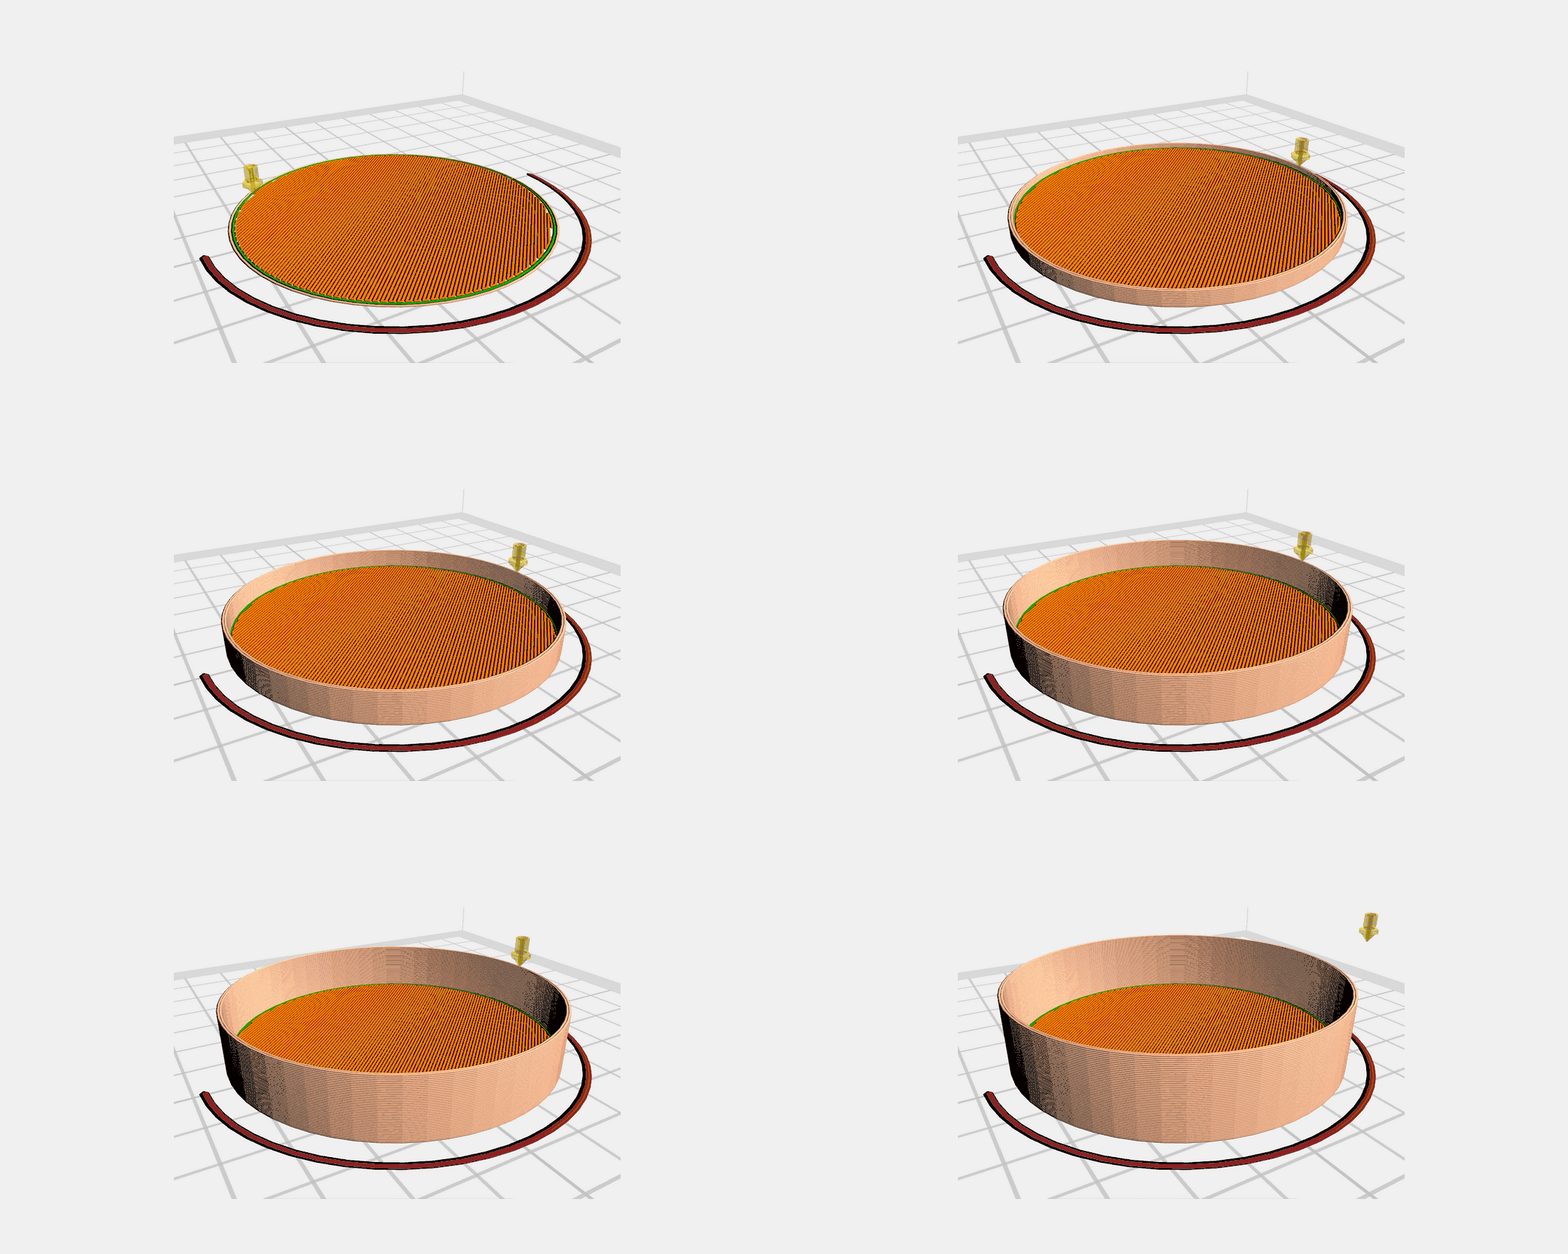
Animation through each layer of the 3D print of the larger end-cap.

Converting WordPress PNGs to WEBPs

I have a “legacy” business website I wish to keep online for archival purposes. The problem is that in building this site over a period of a decade we were fairly particular about keeping a lot of the images on it good enough for print quality as this was a useful service to customers. A decade later and our wp-content/uploads folder weighs in at 30GB.

Sure, that’s not a tonne of data by modern standards … but I just want to host this on a little personal VPS and don’t want to pay for extra storage just for the sake of it.

Obvious modern solution? Convert all the PNG images to WEBP.

Should be easy, right? Look, there’s a load of plugins for this! Oh, wait, no, nearly all of them make an extra copy of the images in WEBP format rather than convert the existing files. I can understand why, but at least give me the option? Mostly it’s complex overlays of your existing media. Some even try to monetise it – how about using a third party service to “optimise” your images?! Madness… I’ve got a perfectly good ImageMagick thanks. The one plugin that might have done what I wanted wasn’t maintained and didn’t work on my up to date WordPress install.

So… down to fundamentals. Manually convert the files with a shell script, and then poke at the database. How hard can it be? It turns out: not super hard. I’m not sure I’d recommend this be copied verbatim on a production site (use a staging copy at least) but it seems to have worked for me. My biggest issue was thumbnails and the fact they store the data for these in a manky string encoded format in the database, but for this task at least there’s a plugin to help.

Step 1: Manually convert all PNGs to WEBPs:

That took about 45 minutes to crunch my PNGs and after this my 20* folders had shrunk from 27GB to 5.5GB! Nice.

But of course my media files in WordPress are all broken now!

Step 2: Go hit the database with a hammer…

What you should find now it the key media URLs work from the media library, but all thumbnail/resize versions are broken images. Rather than muck around processing WordPress’s horrid string encoding of the metadata for these files I found a plugin that can force the regeneration of all thumbnails. This takes a good long while to run, but cost me zero time coding or mucking about and just did its thing.

Step 3: Install plugin to regenerate resized images

This is the plugin: Force Regenerate Thumbnails

When it is installed find in your WordPress admin:

Tools > Force Regenerate Thumbnails

JPG files?

Yeah, you can do them too… just replace “png” above with “jpg” or “jpeg” where required – noting that typically the file name is “jpg” but the mime-type is “image/jpeg” (but you could have “jpeg” file extensions present too I guess.) I repeated the above process for JPG files and further shrunk the data size down from 5.2GB to 3.2GB.

DANGER WILL ROBINSON! DANGER!

I hope this post might be helpful to someone, but it comes with a big caveat… there are errors. This isn’t perfect. I’ve found a few cases where files ended up missing, and I had to copy them back in. No biggie for me, this is just an archive. (I do have the original data in backups in the unlikely case I ever want it.)

Definitely use a sandbox, don’t play in production, and test the results!

Allotment?!?!

So… yeah… that whole idea about blogging about the allotment fell by the wayside a bit. However the allotment itself did not so much and all sorts has happened on it since the previous post.

Mostly these days I have a Mastodon (“Fediverse”) presence where I share allotment progress (and other junk).

And also just for fun I’ve started doing some lo-fi “vlogs” over on that other hive of scum and villainy known as YouTube.

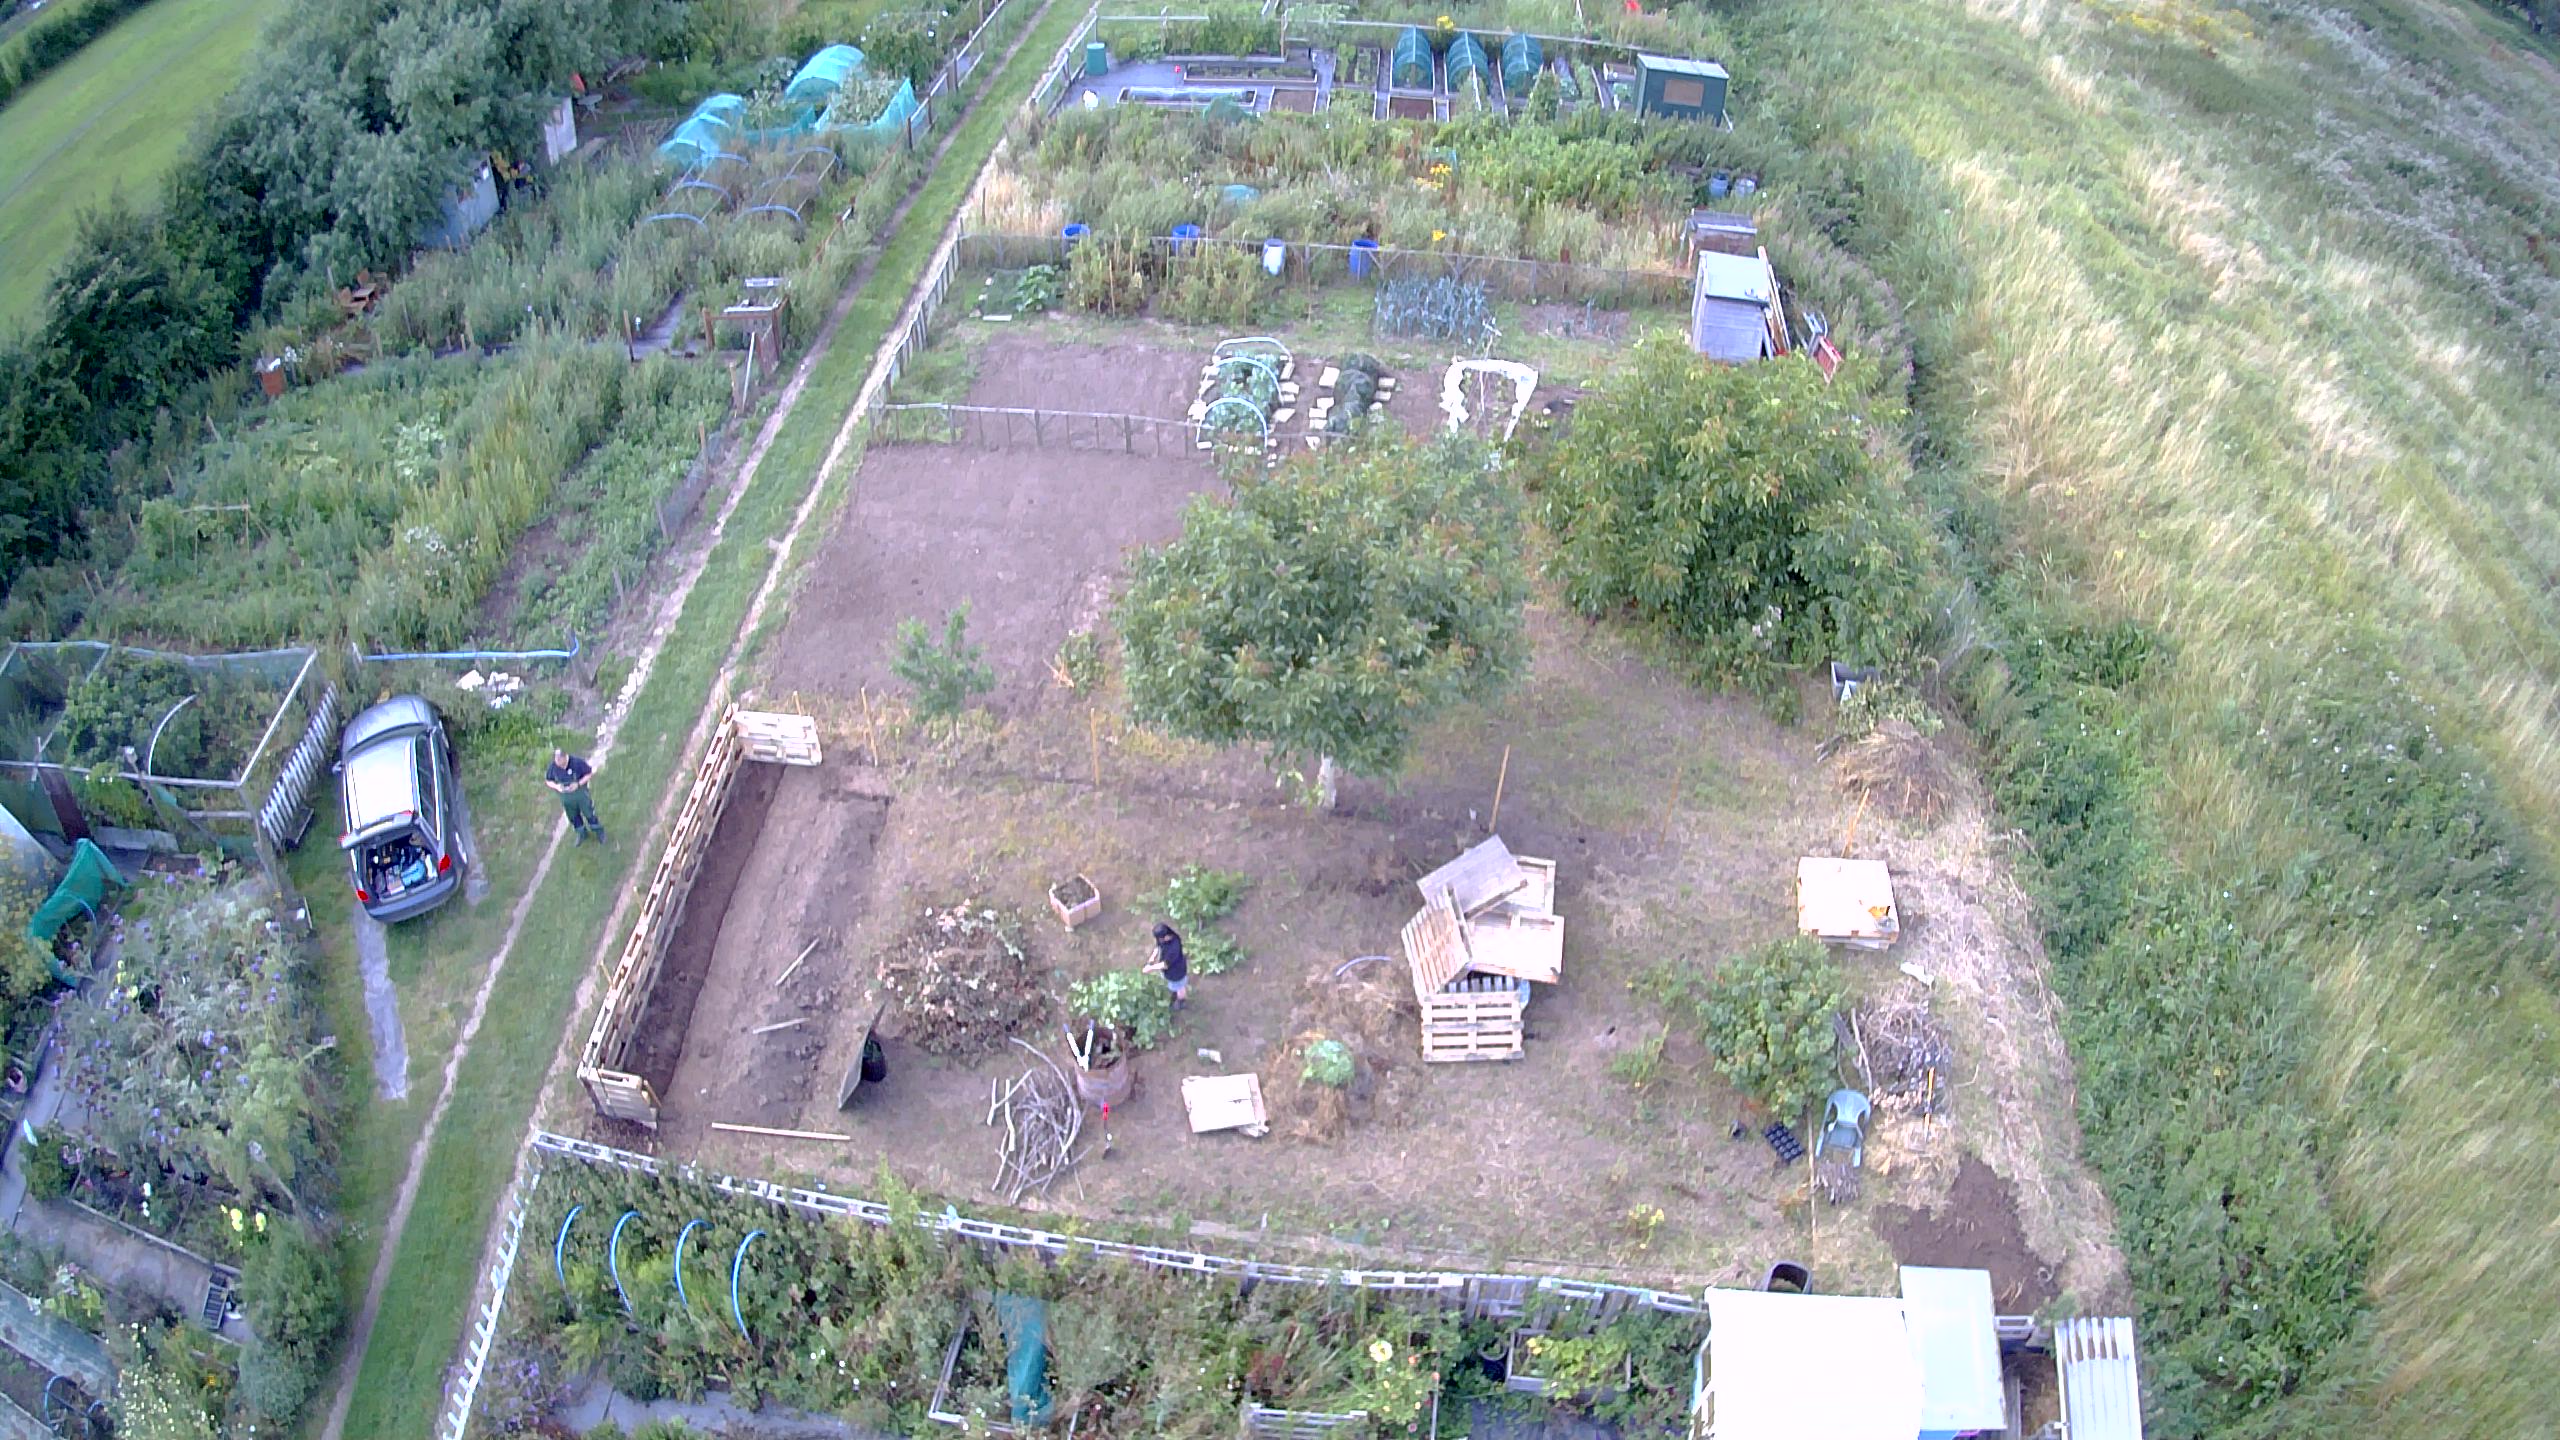
The drone photo below is an early one taken August 2021 of the plot after we commenced ground-works, clearing the site and building some raised beds.

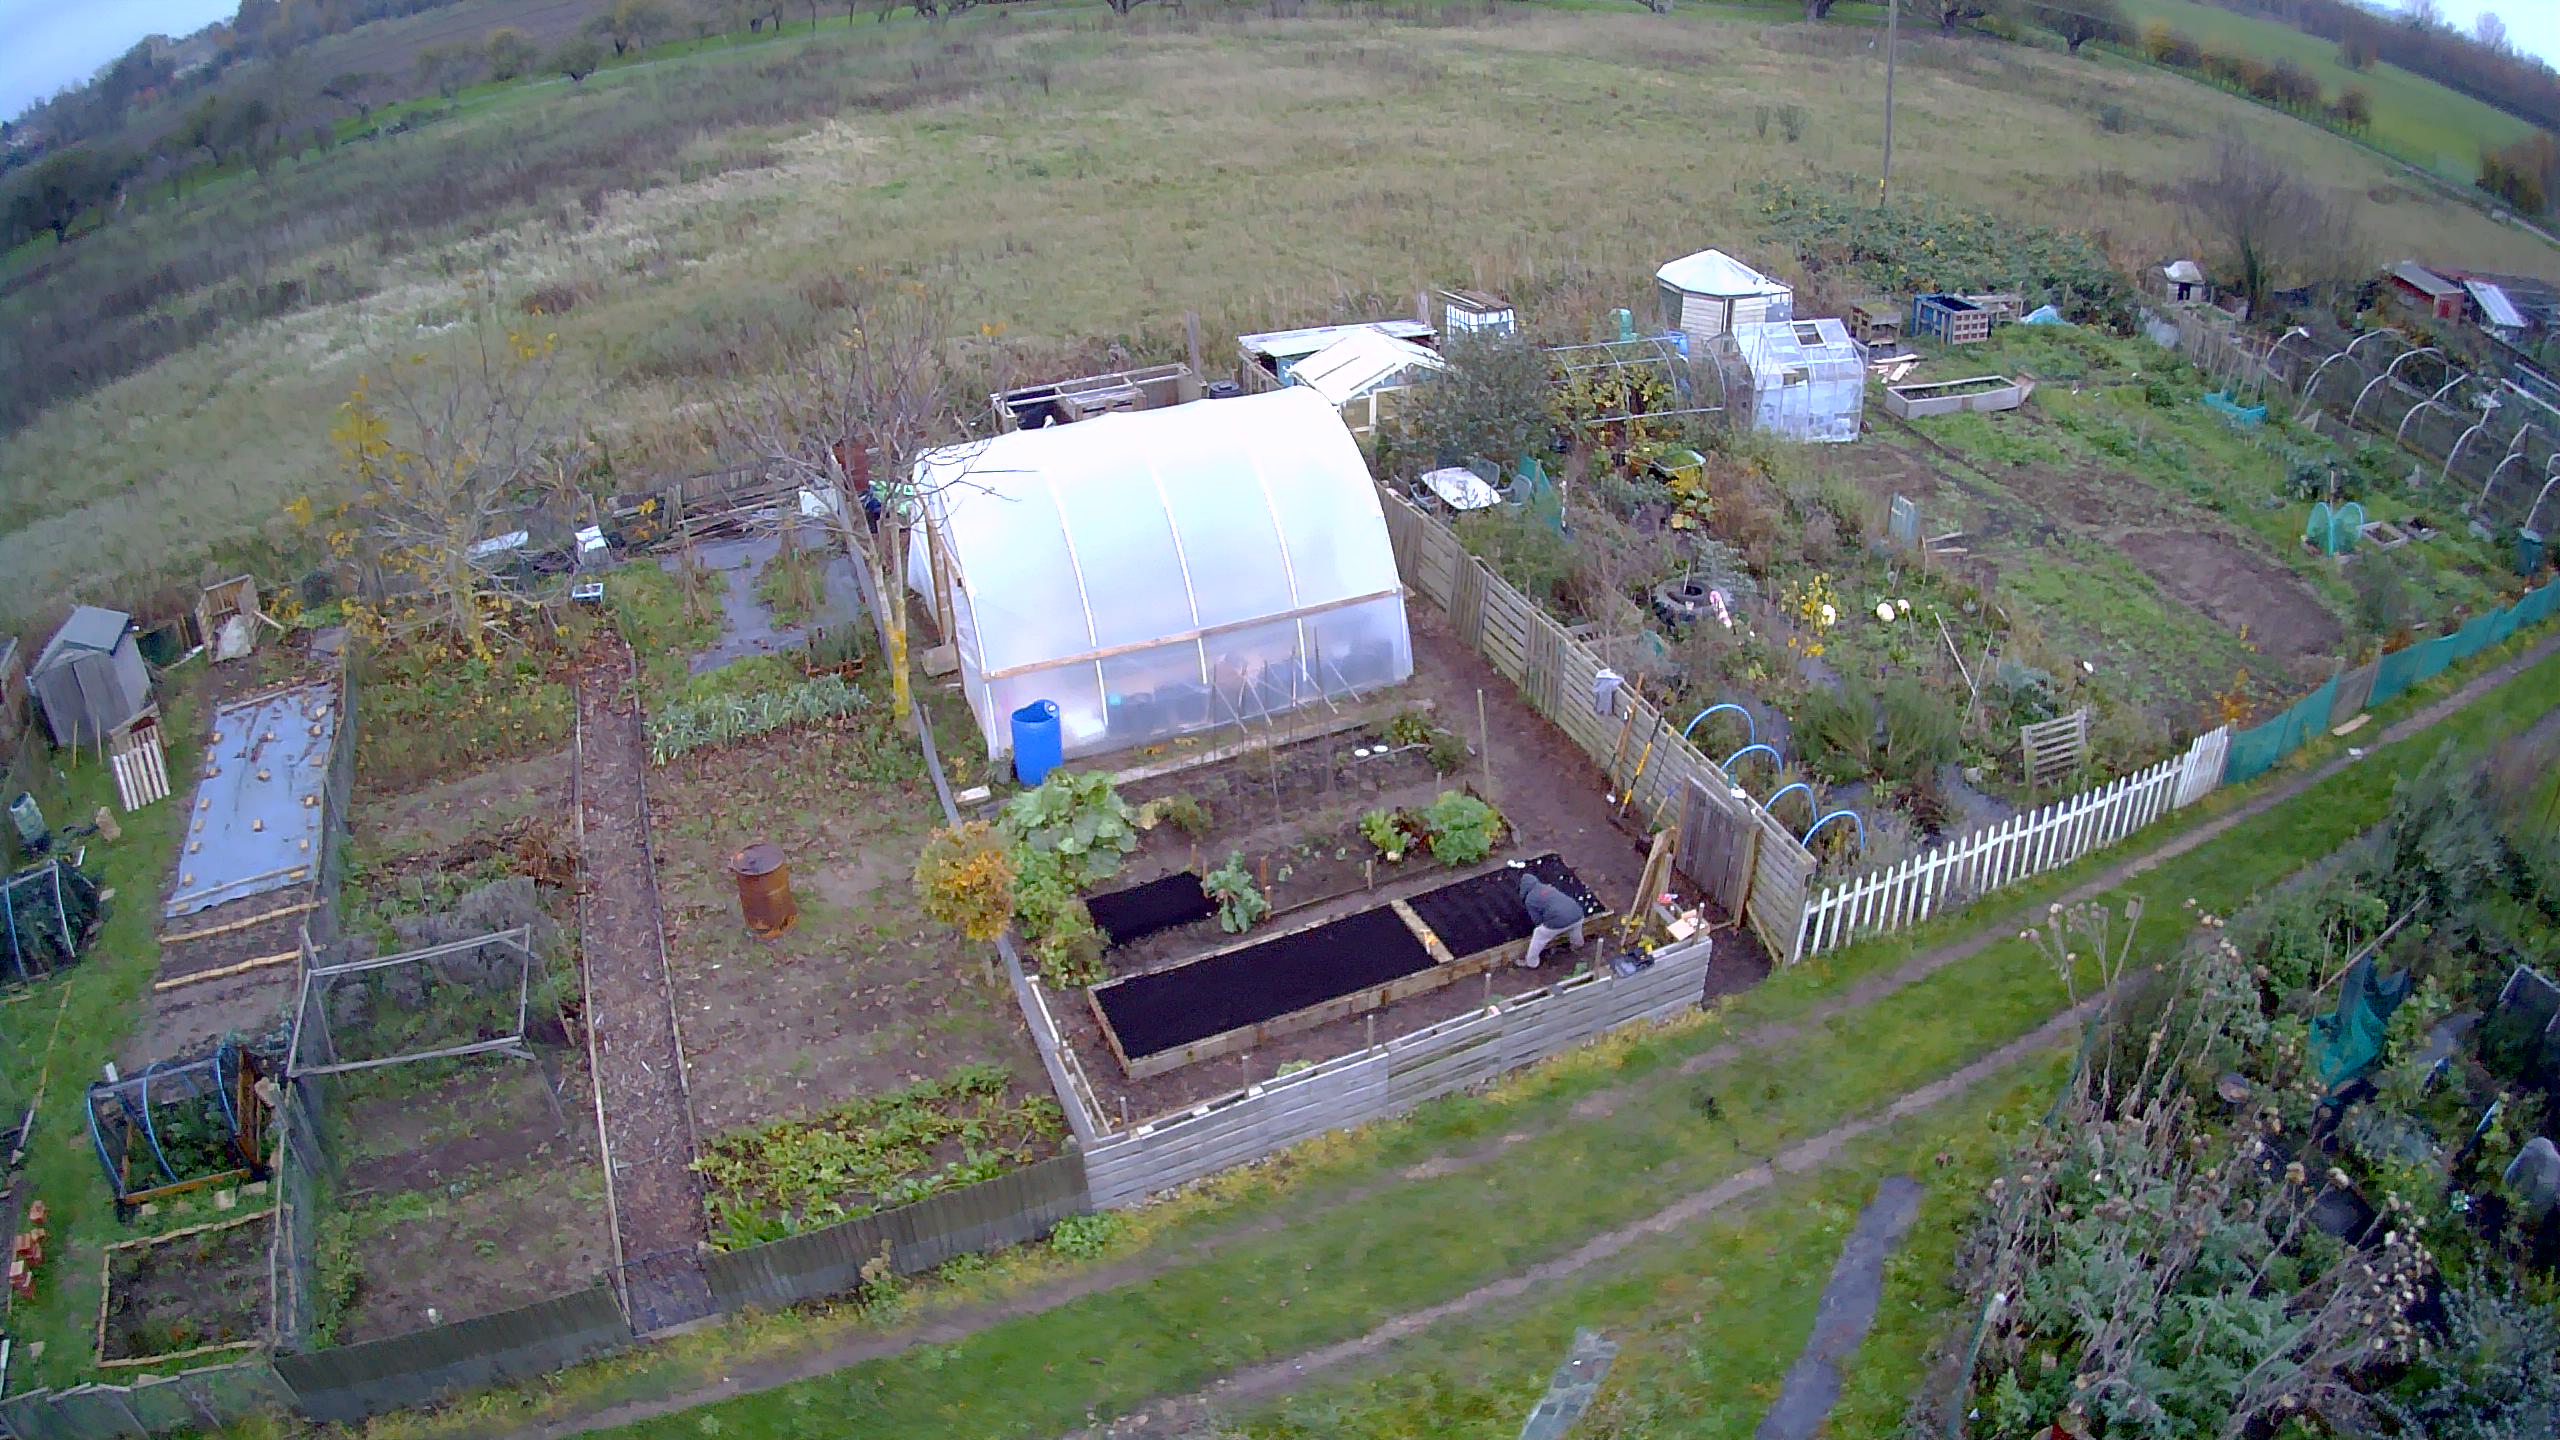
Below is from November 2022 – with the pollytunnel built. We were lucky enough to get some pollytunnel frame for free from some local farmers, so only had to buy the polythene and some timber. It’s short, but high, and has yielded us some excellent crops of tomatoes and chillies.

We’ve since taken on the plot to the right above and commenced clearing and reconfiguring that – I’ll need to get some fresh drone photos.

Our Upwell Allotment – Prologue

I have not “blogged” for a very long time… aside from a bit of work-related writing, personal blogging pretty much faded out for me when I went down the route of running my own business. The last post on this personal site was December 2014 – 5 months before I started the wholesale business. – and that post was just a link to the old beer blog, where the last post was in January 2017 (as an off-shoot from work related thoughts)… Time? Spare time? Forgeddaboutit! However, I am going to try something… and see if I can make it stick… because I’m tired of nearly 100% of my waking hours being about the businesses I’m involved in…

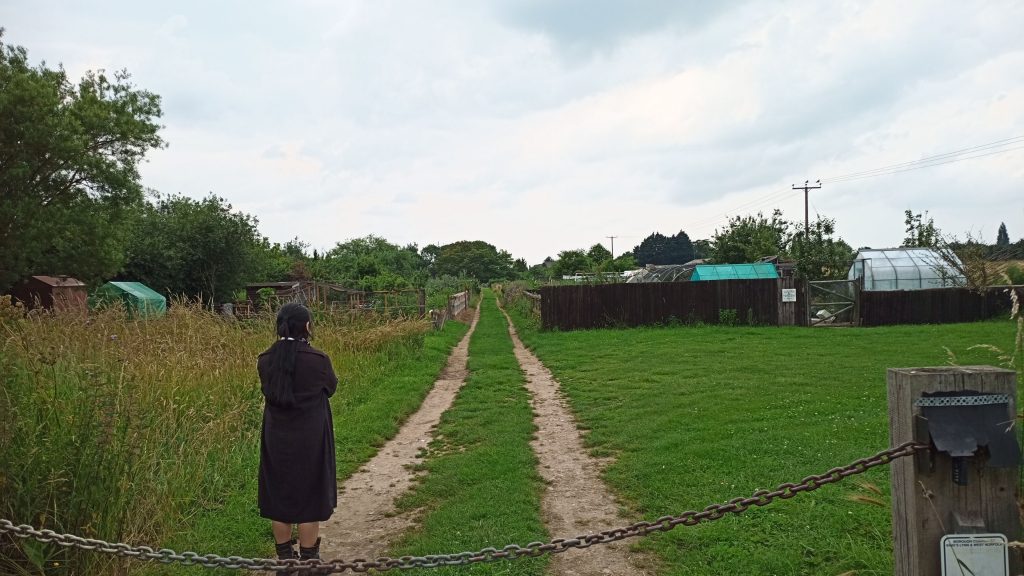
Upwell Allotments – from the entrance off Stonehouse Road

So… on the 9th of July 2021 we met a bloke at the Upwell Allotments to view some available plots – having enquired about renting one a couple of months ago. There were none available at the time, so we asked to be put on the waiting list. Now there are three available – an interesting back-story being that the 2 ones beside each other belonged to one bloke (we are told he was known by some as “Mr Potato” owing to this being pretty much what his entire double-plot was devoted to) and the third single plot belonged to his wife. For whatever reasons all three were pretty much abandoned this season – age the culprit by the sound of it, life getting on, things like managing allotments getting difficult. To be honest, there is an air of sadness to that back-story. So we shall move swiftly on.

All three available are somewhat over-grown. Though not in a very established way thankfully, the double-plot seeming to have been tilled probably last season and just having this season’s fresh weeds growing. The double also has two trees on the central boundary – a well established walnut and an oak sapling. Whilst the single is completely empty aside from some low raised beds hiding under the overgrowth. Personally I’m quite attracted to the trees, as much as I am aware they will have an impact on light and water in their vicinity – and also I prefer the “blank slate” nature of the plots without the existing raised beds. So we have opted for the more southerly of the double plot – I’d have probably have gone for both – a big plot with the walnut in the middle – but the allotment manager pretty much led with the fact they wouldn’t let out doubles so that probably saves us biting off more than we can chew!

There’s little to add about the plot right away. It is weedy, the soil is soft, there seems to be the odd potato amongst the weeds, and I think there are some berry bushes up the back. Looking at it front-on there is a well maintained neighbour on the right with a fence between made of pallets. The front-right corner is where an existing gate is, so as the fence to the south casts a lot of shadow we’ll keep the gate location and run a path all the way down this side to the back I reckon. Then build a small storage shed at the back corner for keeping items dry – we are warned to not keep anything valuable on site (fair warning) – crime is minimal, but they have the occasional opportunistic miscreant checking sheds for tools worth thieving. We will probably put a set of compost heaps along the back edge … and other that that there’s plenty to plan and think about. Not to mention budget and scrounge. Building a garden can be expensive… thankfully due to the business I do have some “free” resources, like a constant stream of pallets… and cardboard… loads to work out.

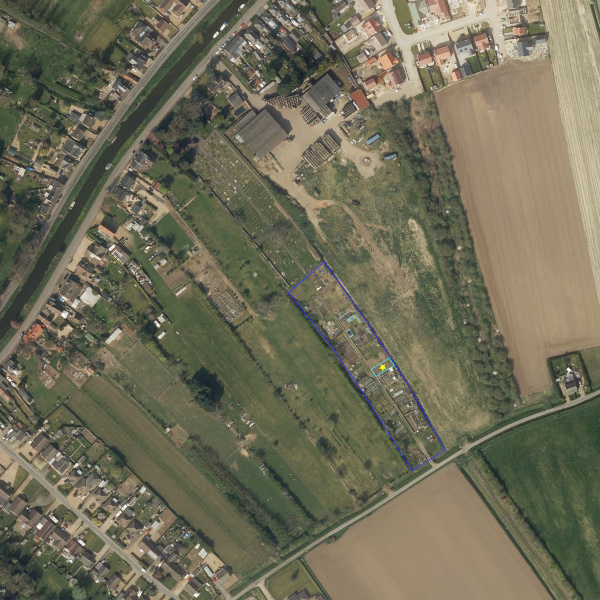
For context I have some images – a zoom-in of the site, which is between Stonehouse Road and Upwell Cemetery off St Peters Road. I think it is accessible by foot through the cemetery, but this is to be confirmed. Let’s zoom in on the site:

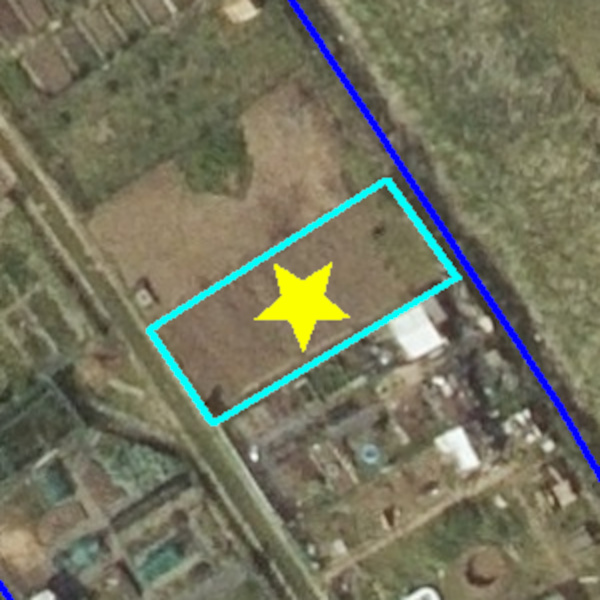
The allotment site is highlighted in dark blue, and our plot in cyan with the yellow star.

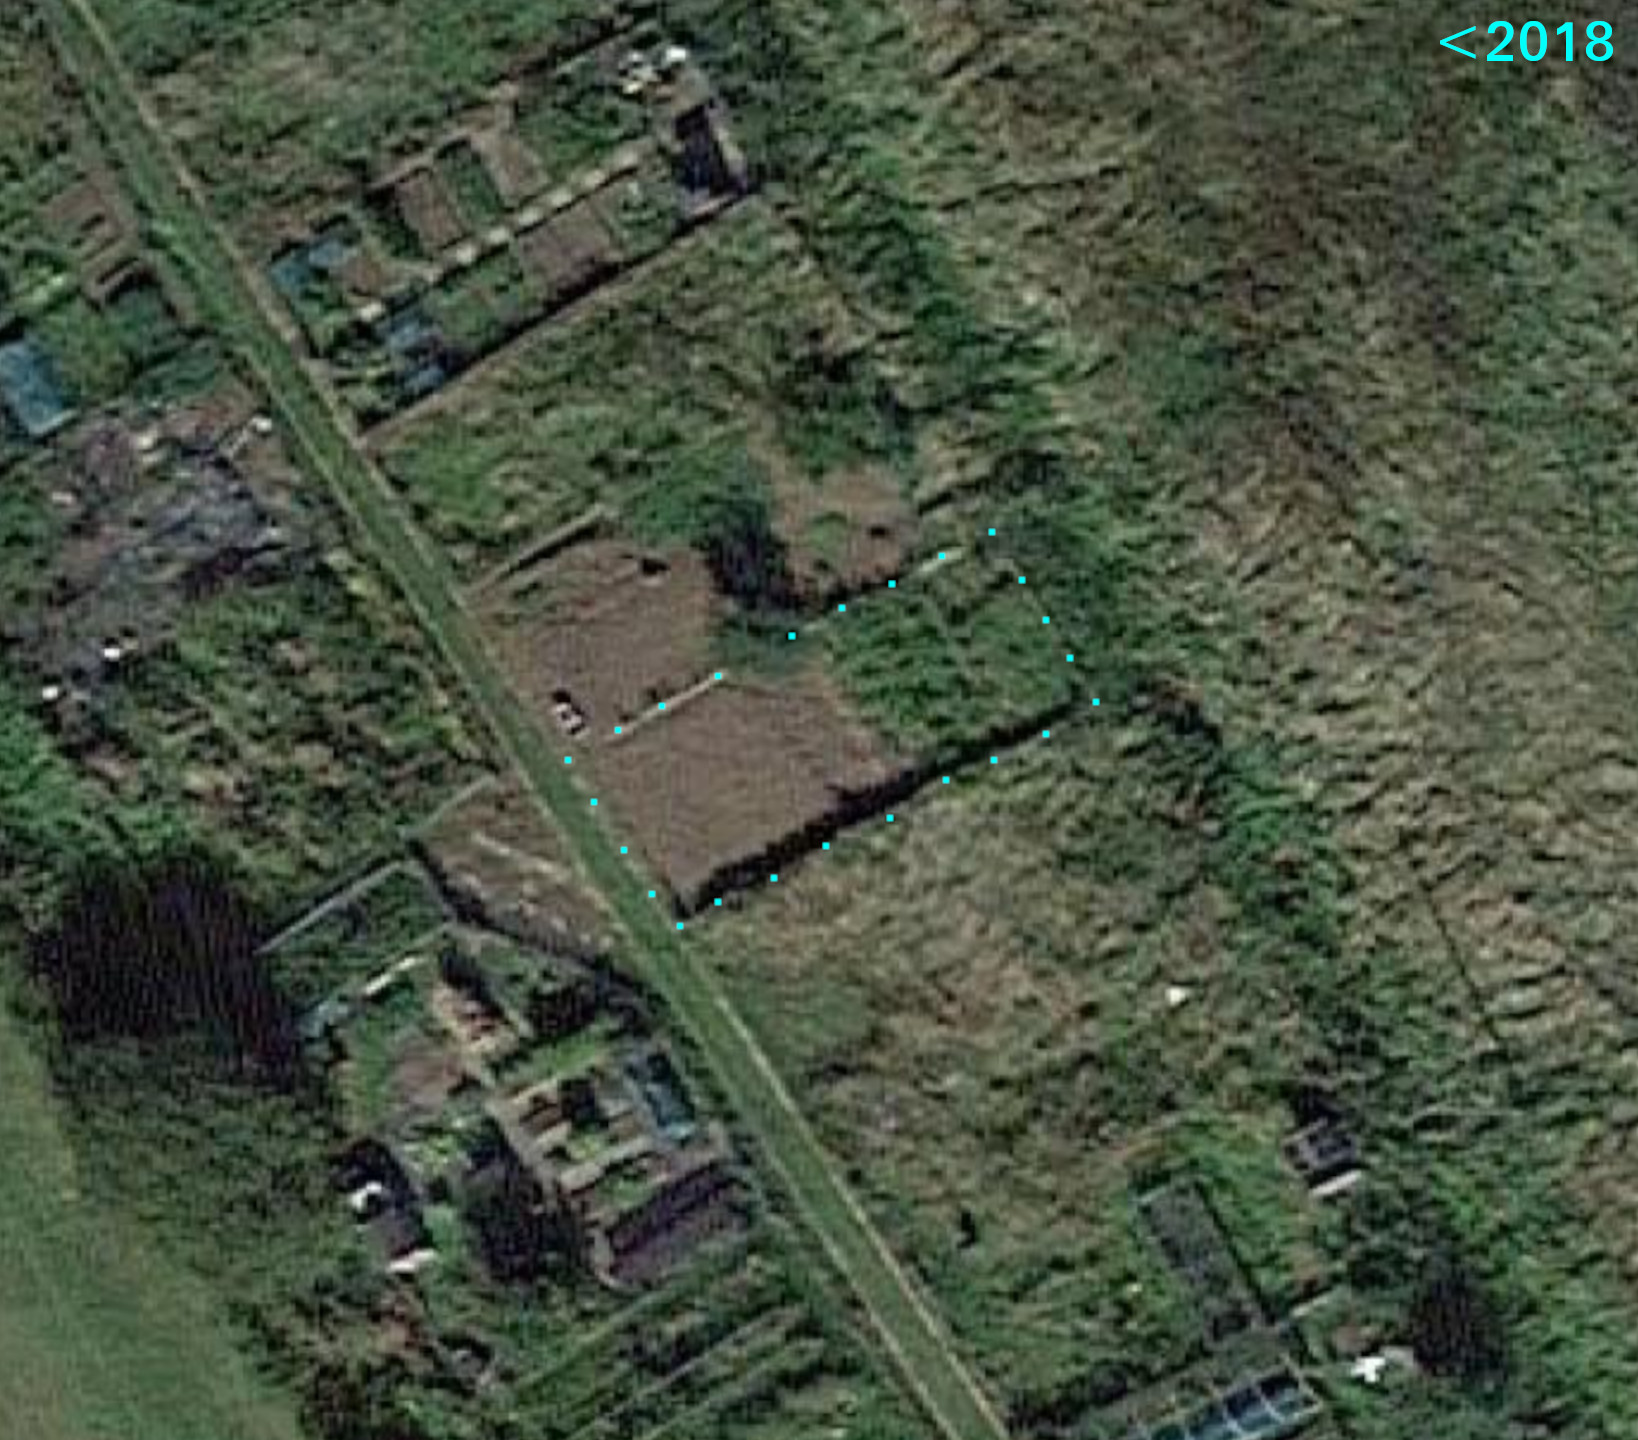
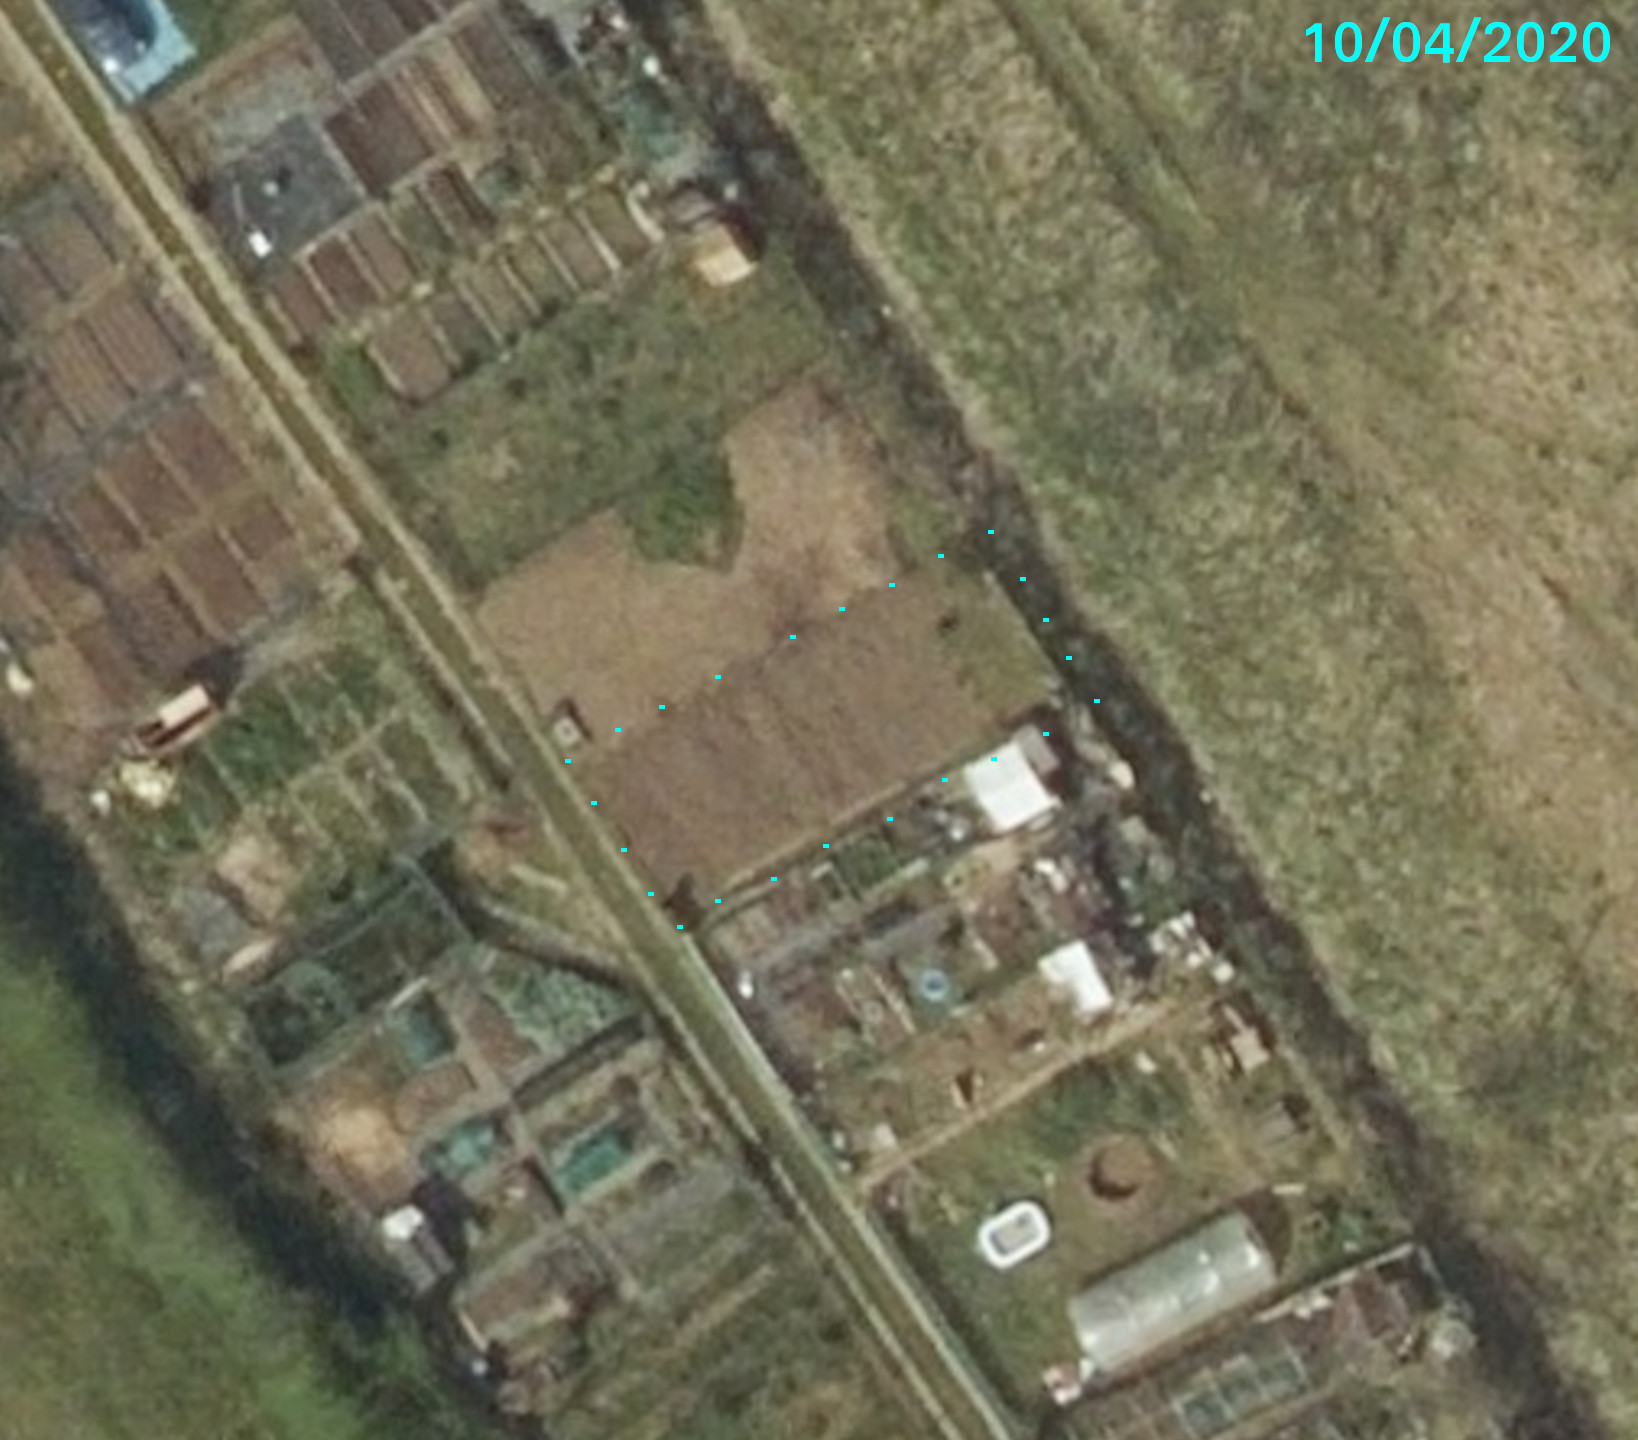
This is 12.5cm per pixel imagery, and this third photo is zoomed to 12.5cm per 2px, so it goes a bit grainy. If you look carefully you can see the skeleton of the walnut in the middle of the NW edge between the plots. This satellite imagery is from 10th April 2020 and you can see the plots seem to have been recently dug over.

The two images below with the fancy “before and after” widget show Google Satellite imagery on the left versus the April 2020 imagery, the Google Imagery isn’t dated but I’ve deduced it is probably from around 2017. If you check the site on Google you can see it wasn’t in much use at that point. What you can see is that it was whilst the walnut tree was in leaf, as it’s a proper green blob in the middle there. And the sun was lower on the horizon so you can see shadows cast including from the fence on the SE neighbouring plot. I’ve marked the plot out with little cyan dots.

The other thing I’ve been thinking about already is: where is the sun! A fairly basic and fundamental element, and one I was already roughly working out in my head whilst on site picking a plot… the single plot 2-plots to the NW of the double was the clearest for sunlight, no trees, no fence… but the trees really won me over. It was clear that the walnut was going to create a lot more shade in the NW plot than the SE one so SE it was on that measure.

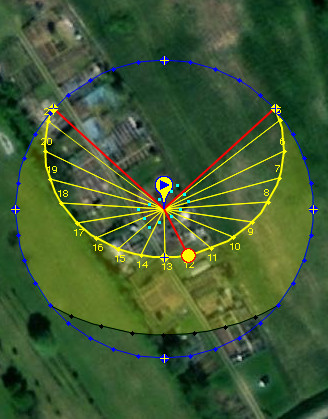
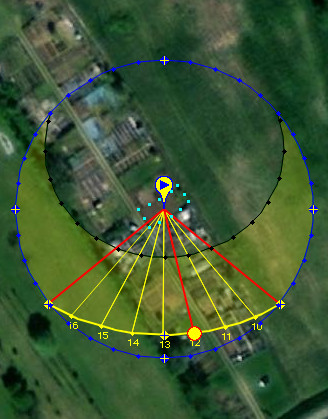
On the left we have the sun transit on the day of the winter solstice, and on the right the the sun transit on the day of the summer solstice. There’s not a great deal more to think about with respect to this – we can see that generally most of the plot is going to get good sunlight for most of the year. With only a little worry in winter with the fence shadowing the ground – so that’s where we will put the path. In summer the tree will only cast some shadow on our plot coming into the evenings between 4pm and sundown on the day of the summer solstice. And that’ll be mainly across the back corner where I plan to put compost bins and other utility area stuff. The sun maps were generated using this useful website: https://www.sunearthtools.com/dp/tools/pos_sun.php

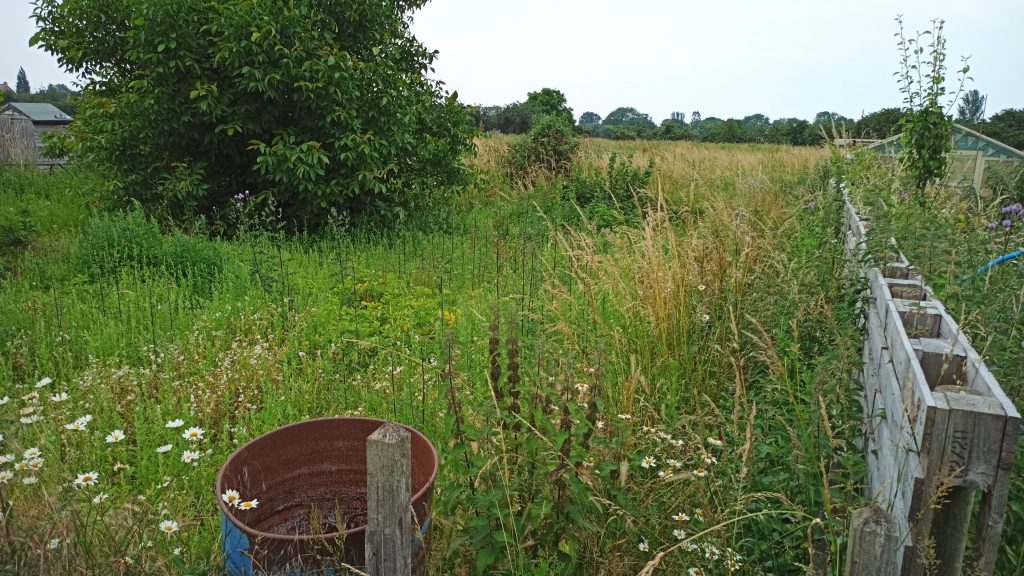
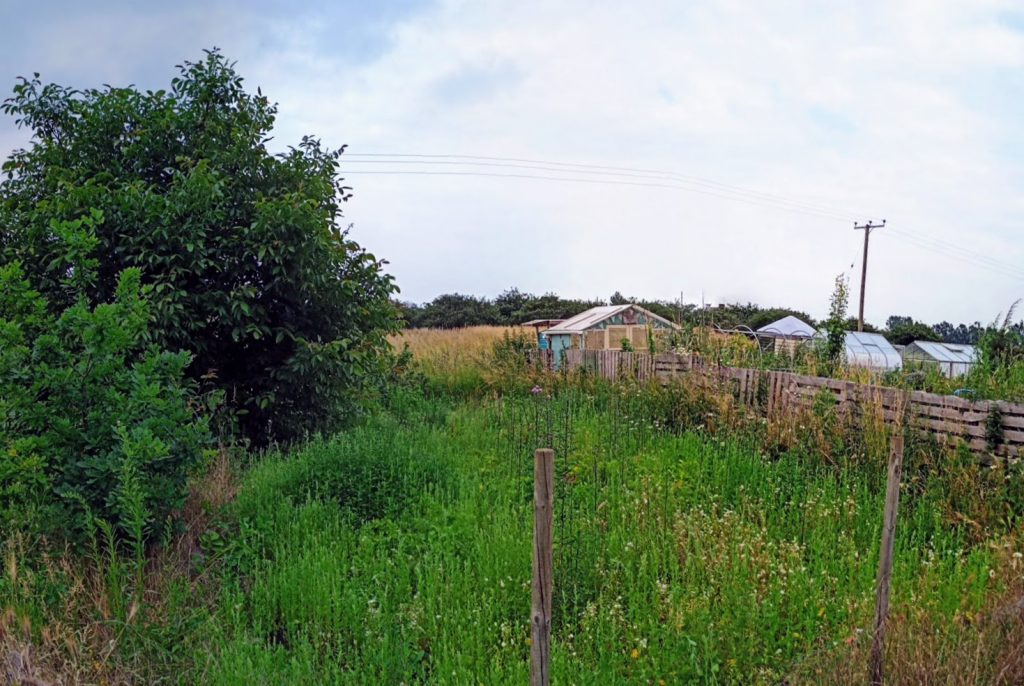
Anyway, that’s it… I leave you with a pair of photos across the plot as we saw it on Friday. One from each front corner… Looking forward to getting stuck in, with some trepidation as to whether I’ll have the time and energy to keep it going.

tmux — a super quick “getting started” “cheat sheet” for screen users

Google didn’t find this for me. Google FAIL, Internet FAIL. No computer biscuit for you!

If you’re a pretty fundamental screen user then this is about all you’ll need to start out with tmux:

Goal screen tmux
Start named session: screen -S mysessionname tmux new-session -s mysessionname
Attach-to (and detach) named session: screen -rd mysessionname tmux attach-session -dt mysessionname
Detach from session from within: ^A then d ^B then d

Why use tmux over screen — I have no idea yet! At the very least the default scrollback behaviour seems to be more user-friendly. On that note while you can shift-PgUp/PgDown well enough as in a normal terminal it keeps resetting to the bottom. I’m not sure if this behaviour can be disabled but I found that ^B-then-PageUp takes you into a useful scrollback-view-mode that you can get out of by simply pressing q.

Scrollback aside, I’ve only just started to try to use it, thus this post… nothing against tmux so far!

It’s newer, shinier, and supposedly more eXtensible than screen. Yippee?

Those tmux command lines are just crying out for some shell aliases.

More: Google for it, this is just “baby-steps” bootstrapping information here… there’s plenty of advanced information out there. Want vi-like scrollback navigation?

(The first few Google results I checked didn’t actually provide the useful details with respect to working with named sessions.)

There, super-rare tech entry from me. It’s been years. That’s what a head-cold, no alcohol, and 1.5 litres of coffee does to you… productivity!

Kaput

What do you get when you mix together failure to implement a reasonable backup scheme, hard-drive failure, and “oh, I thought it was supposed to be RAID-1”? A right pain in the bloody arse!

Gradually putting things back together – starting with the ale.gd site. I do have copies of all the entries I’ve written but they’re in a funny old format. I’m not using blosxom any more, I’d made a lot of customisations to the code and it seems I’ve lost half of them! So, trying wordpress – reluctantly. It has the advantage that it “just works”, a bonus as I don’t have much time for personal hacking. Sadly I also seem to have lost the photo album content. Not the actual photos, I have all of them backed up, but I’ve lost the commentary I’d added to the albums.

Ah – think of it like a house fire. It feels a bit like that. In fact, as far as personal data goes an actual house-fire would probably have been less damaging!