Printing TPU End Caps on a Flashforge Adventurer 3 Pro

Filament: Overture “High Speed” TPU

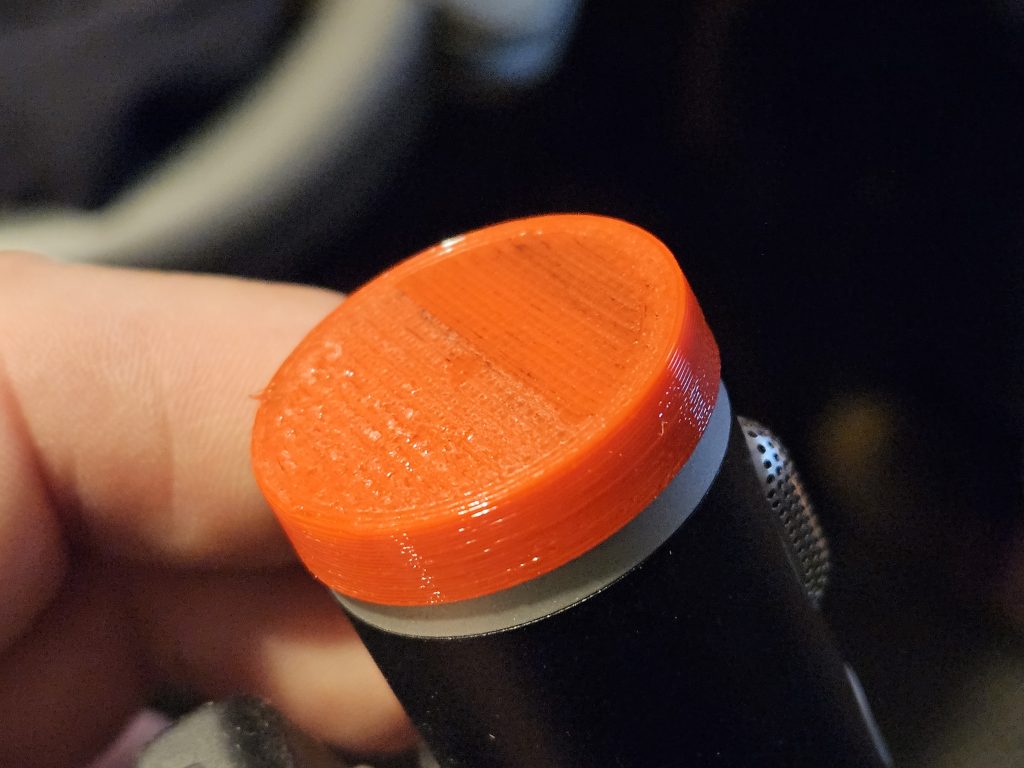
Yesterday I observed Kat draping some random glove liner over her webcam after use. Making a cap for it popped into mind as an obvious thing to do, and the 3d printer was gathering dust – the inspiration hit me. I fired up FreeCAD and knocked up about the most basic of basic 3d designs. I popped some TPU into the dehydrator. Today I lobbed the design over to the desktop, loaded it into the slicer…

A few months ago I tuned the slicer settings for getting some good basic TPU prints out of my printer (A FlashForge Adventurer 3 Pro) – it took a fair bit of fiddling. It’s not a printer that’s really suitable for TPU, especially given it’s a Bowden Tube based model rather than Direct Drive. (The foibles of this printer are a story for another time, but the basic background is I needed to print fire retardant ABS, so needed an enclosed printer, I did my research, decided on this, and it -eventually- did the job I needed. I would not choose or recommend it as a general purpose hobby 3d printer.) Of course I’d made no record of the settings, not so much as a saved FlashPrint profile… I admonished myself accordingly.

Thankfully my memory wasn’t too bad and with only one abortive attempt I got a good enough print. The key thing with printing TPU in this printer is: slowly, slowly, wins the race. Previously I spent loads of time struggling with the material clumping up in the extrusion mechanism. This time around I started slow, low retraction, and using a 0.6mm nozzle helps a lot too.

In terms of the settings in FlashPrint (the slicer that goes with this printer, I’ve never really got around to trying another slicer) I started with the “standard” 0.6mm PLA settings in FlashPrint 5.8.5 and adjusted these settings:

Printer
Extruder Temperature:
225C
Bed Temperature: 45C

General
Layer Height:
0.30mm
First Layer Height: 0.30mm (the default)
Base Print Speed: 20mm/s
Retraction Length: 2.0mm
Retract Speed: 10mm/s

Infill
Top Solid Layers:
4
Bottom Solid Layers: 4

Raft
Enable Raft:
No

Cooling
Cooling Fan Control:
Always Off

Advanced
First Layer Extrusion Ratio:
100%

Others
Z Offset: 0.05mm (entirely dependent on your calibration!)

Getting the z-height is very important of course, perhaps more important with TPU than other filaments in my experience. The reason being that whole jamming extruder problem. Too close and most filaments just “click” and skip a bit, but TPU bunches up, jams, and it all goes wrong; too far and you’ve got no adhesion! And the margin between these two is narrow. I suggest printing a base pad as a test to get it calibrated right. Every time I change filament or do my first print after a hiatus I use the printer’s bed calibration function with the bed and nozzle preheated to match the print settings, setting it up so it just lightly clamps a bit of 80gsm printer paper. Then I fiddle with the z-offset adjustment in the slicer to make it work, today the ideal seemed to be a +0.05 z-height adjustment. Tomorrow it could be different!

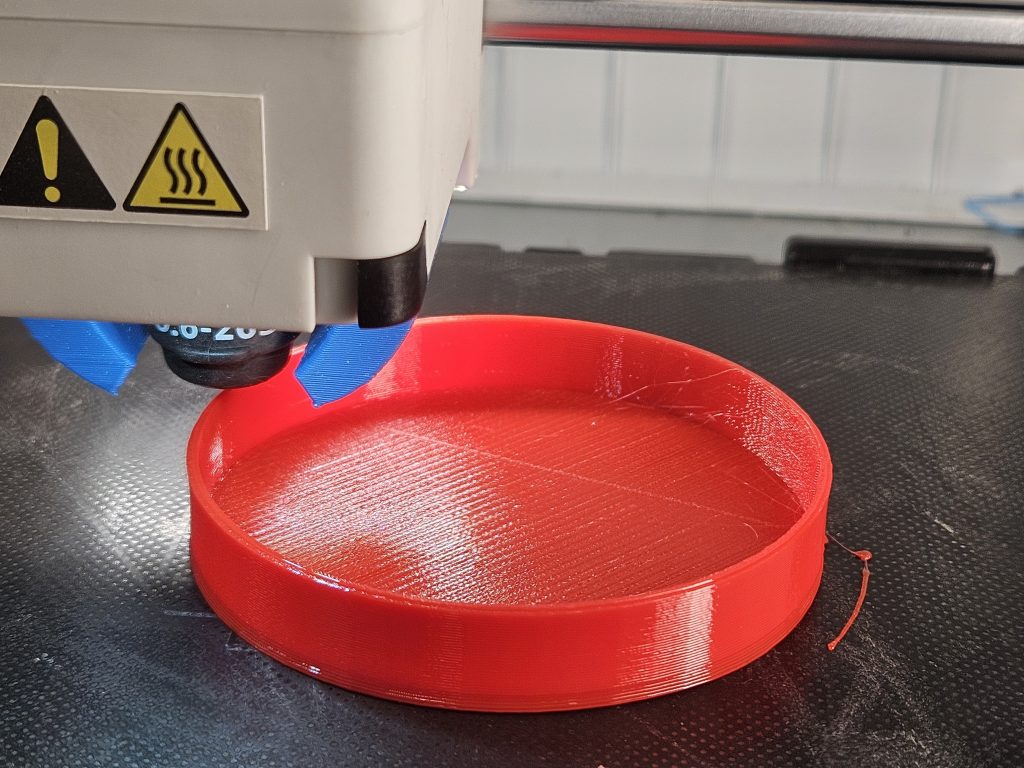
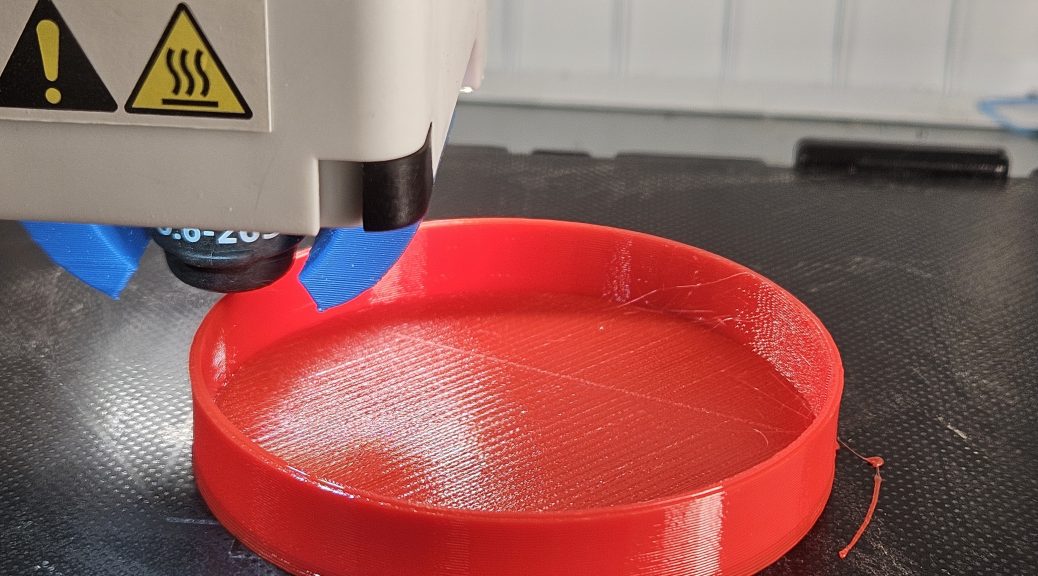
For the small cap I watched the extrusion mechanism like hawk – if you catch it quick and pull it back a bit you can save the print. It printed with zero intervention. So I was more laid back about the larger cap print… and it also printed without intervention. So it might be possible to push that print speed up a little in future, but I probably wouldn’t bother.

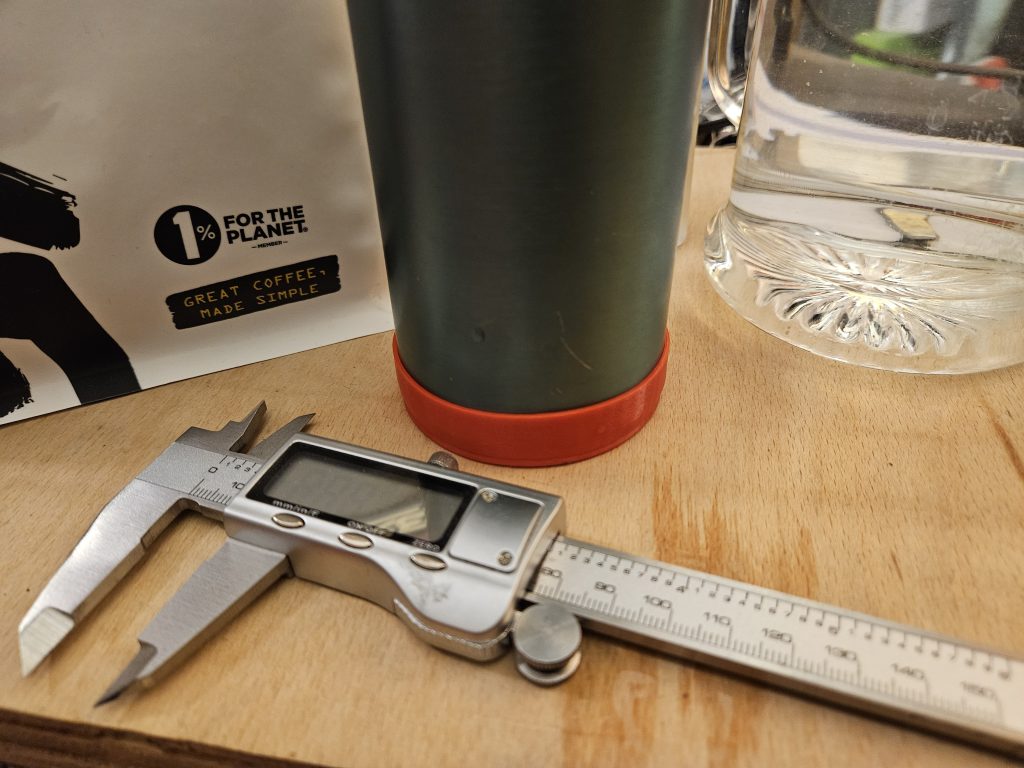
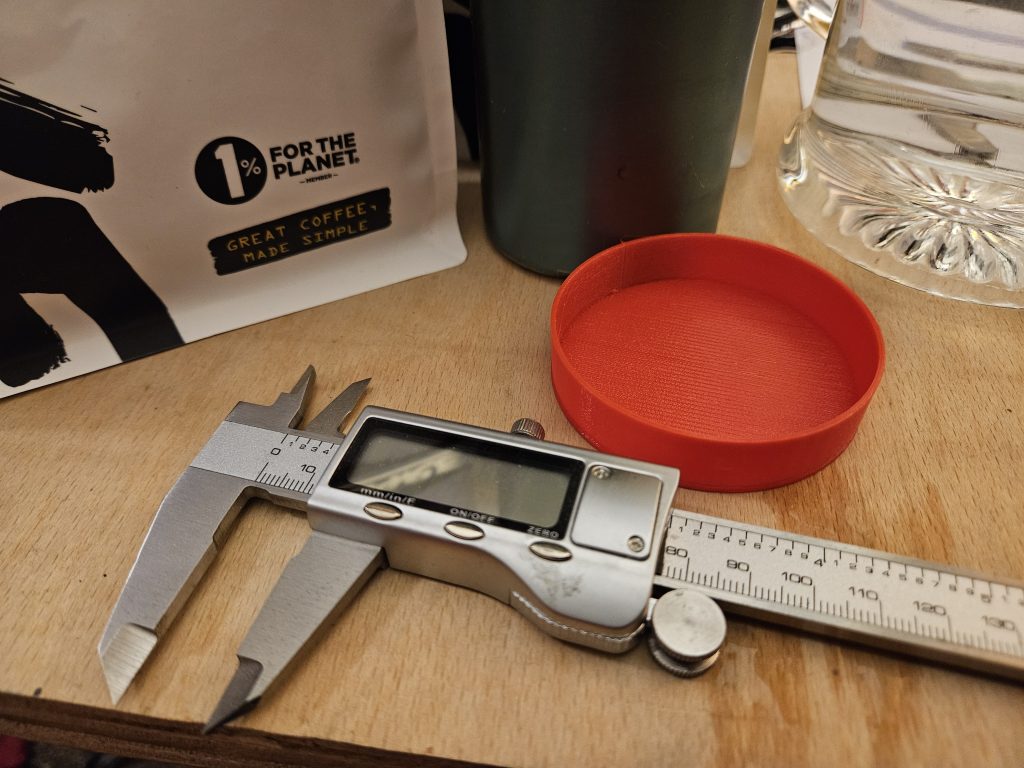
On these settings the small (28mm outer dia) cap was a mere 7 minute print, and the larger (68mm outer dia) one was a whopping 1hr 40min print! Noting that the small cap had a 1mm thick base and 1 shell thick side, and the larger one a much beefier 2mm thick base and 2 shell thick side.

I would in general recommend keeping TPU printing to a minimum with this specific printer. Small simple objects… though I did print a small squishy mesh cat one time and that worked. Mainly the reason is because the print speed is so slow… if it goes wrong in a long print you’ve got a lot of time wasted. If you want to print a lot of TPU then it seems getting a direct drive extruder is the key recommendation. (It’s on my wishlist!)
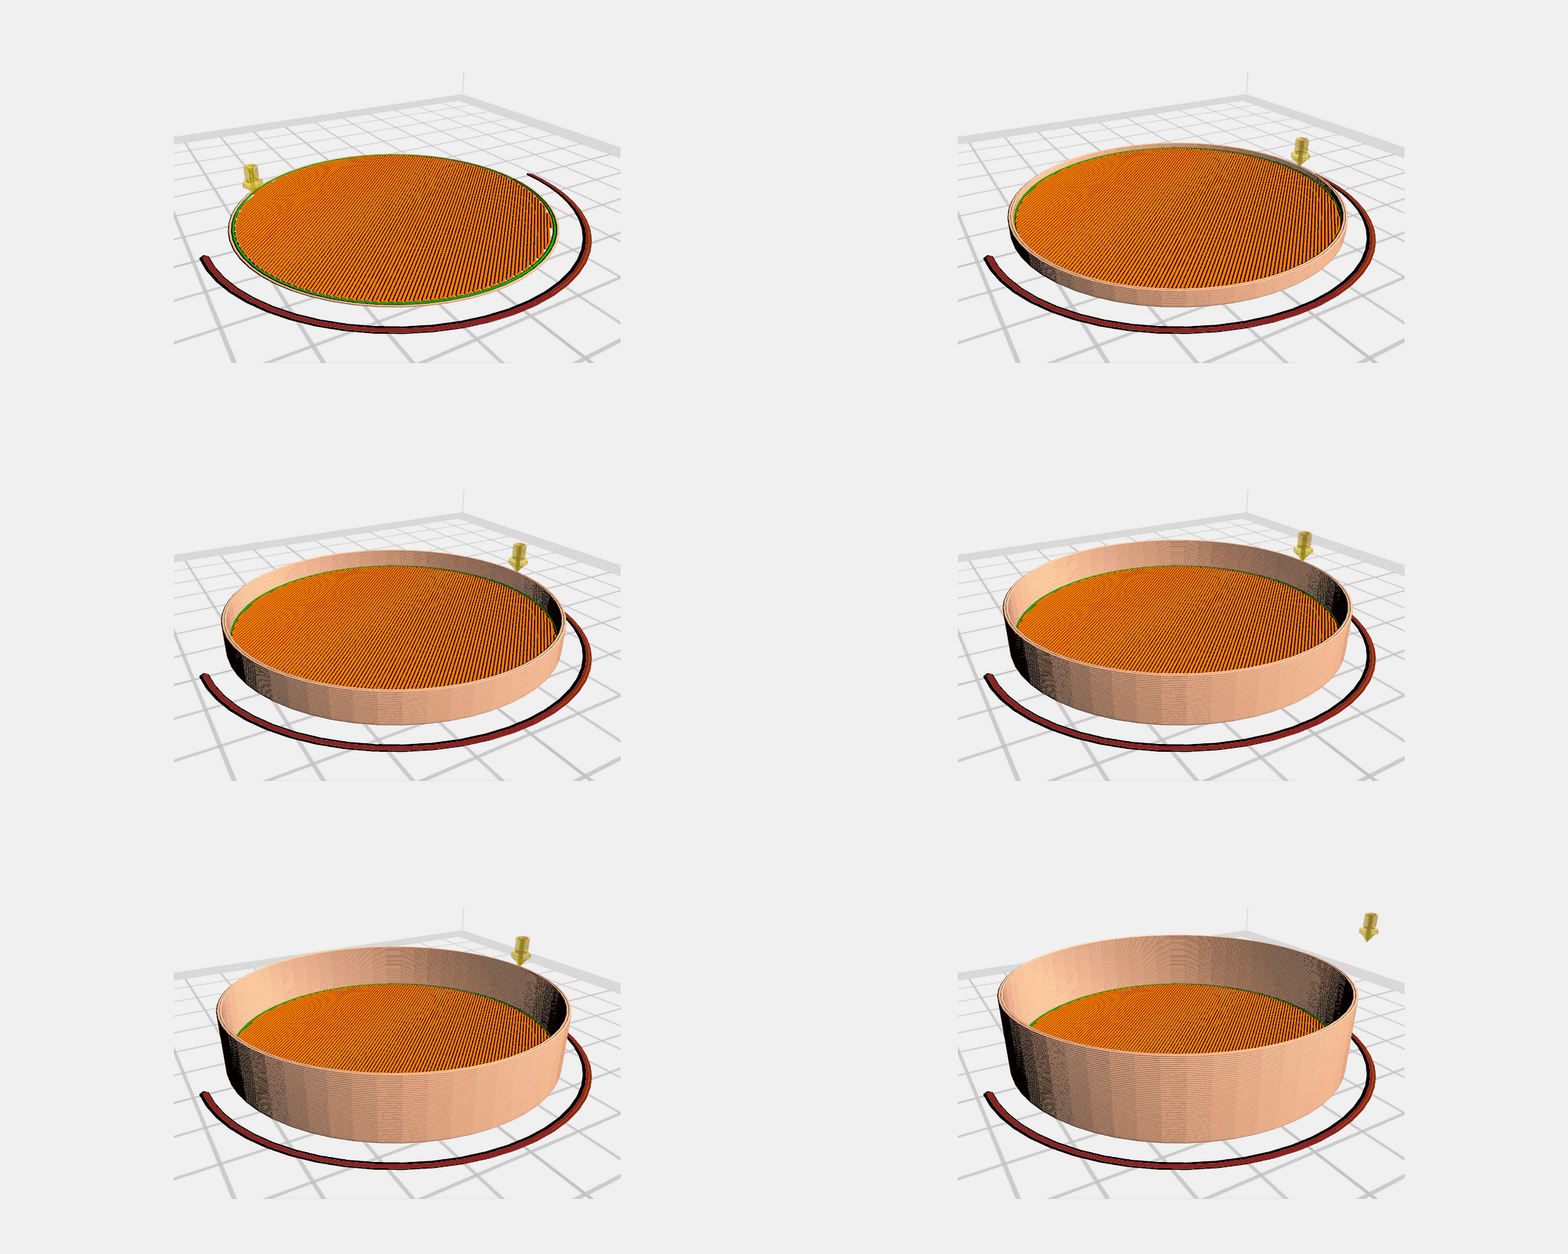
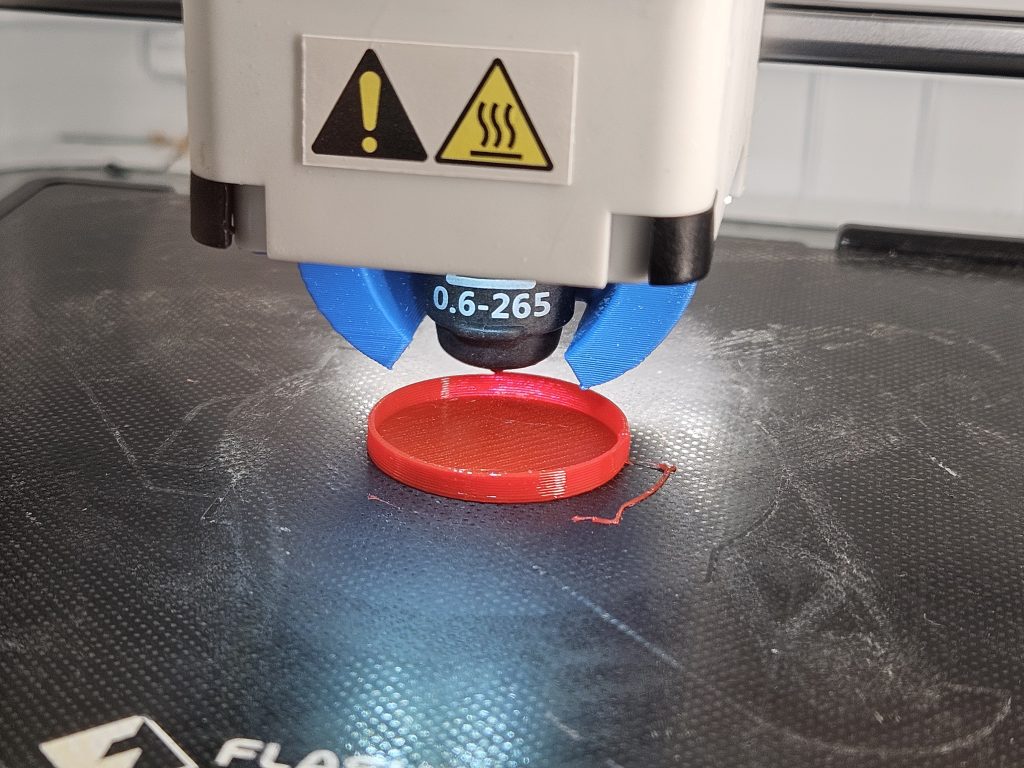
Animation through each layer of the 3D print of the larger end-cap.

Converting WordPress PNGs to WEBPs

I have a “legacy” business website I wish to keep online for archival purposes. The problem is that in building this site over a period of a decade we were fairly particular about keeping a lot of the images on it good enough for print quality as this was a useful service to customers. A decade later and our wp-content/uploads folder weighs in at 30GB.

Sure, that’s not a tonne of data by modern standards … but I just want to host this on a little personal VPS and don’t want to pay for extra storage just for the sake of it.

Obvious modern solution? Convert all the PNG images to WEBP.

Should be easy, right? Look, there’s a load of plugins for this! Oh, wait, no, nearly all of them make an extra copy of the images in WEBP format rather than convert the existing files. I can understand why, but at least give me the option? Mostly it’s complex overlays of your existing media. Some even try to monetise it – how about using a third party service to “optimise” your images?! Madness… I’ve got a perfectly good ImageMagick thanks. The one plugin that might have done what I wanted wasn’t maintained and didn’t work on my up to date WordPress install.

So… down to fundamentals. Manually convert the files with a shell script, and then poke at the database. How hard can it be? It turns out: not super hard. I’m not sure I’d recommend this be copied verbatim on a production site (use a staging copy at least) but it seems to have worked for me. My biggest issue was thumbnails and the fact they store the data for these in a manky string encoded format in the database, but for this task at least there’s a plugin to help.

Step 1: Manually convert all PNGs to WEBPs:

That took about 45 minutes to crunch my PNGs and after this my 20* folders had shrunk from 27GB to 5.5GB! Nice.

But of course my media files in WordPress are all broken now!

Step 2: Go hit the database with a hammer…

What you should find now it the key media URLs work from the media library, but all thumbnail/resize versions are broken images. Rather than muck around processing WordPress’s horrid string encoding of the metadata for these files I found a plugin that can force the regeneration of all thumbnails. This takes a good long while to run, but cost me zero time coding or mucking about and just did its thing.

Step 3: Install plugin to regenerate resized images

This is the plugin: Force Regenerate Thumbnails

When it is installed find in your WordPress admin:

Tools > Force Regenerate Thumbnails

JPG files?

Yeah, you can do them too… just replace “png” above with “jpg” or “jpeg” where required – noting that typically the file name is “jpg” but the mime-type is “image/jpeg” (but you could have “jpeg” file extensions present too I guess.) I repeated the above process for JPG files and further shrunk the data size down from 5.2GB to 3.2GB.

DANGER WILL ROBINSON! DANGER!

I hope this post might be helpful to someone, but it comes with a big caveat… there are errors. This isn’t perfect. I’ve found a few cases where files ended up missing, and I had to copy them back in. No biggie for me, this is just an archive. (I do have the original data in backups in the unlikely case I ever want it.)

Definitely use a sandbox, don’t play in production, and test the results!

Allotment?!?!

So… yeah… that whole idea about blogging about the allotment fell by the wayside a bit. However the allotment itself did not so much and all sorts has happened on it since the previous post.

Mostly these days I have a Mastodon (“Fediverse”) presence where I share allotment progress (and other junk).

And also just for fun I’ve started doing some lo-fi “vlogs” over on that other hive of scum and villainy known as YouTube.

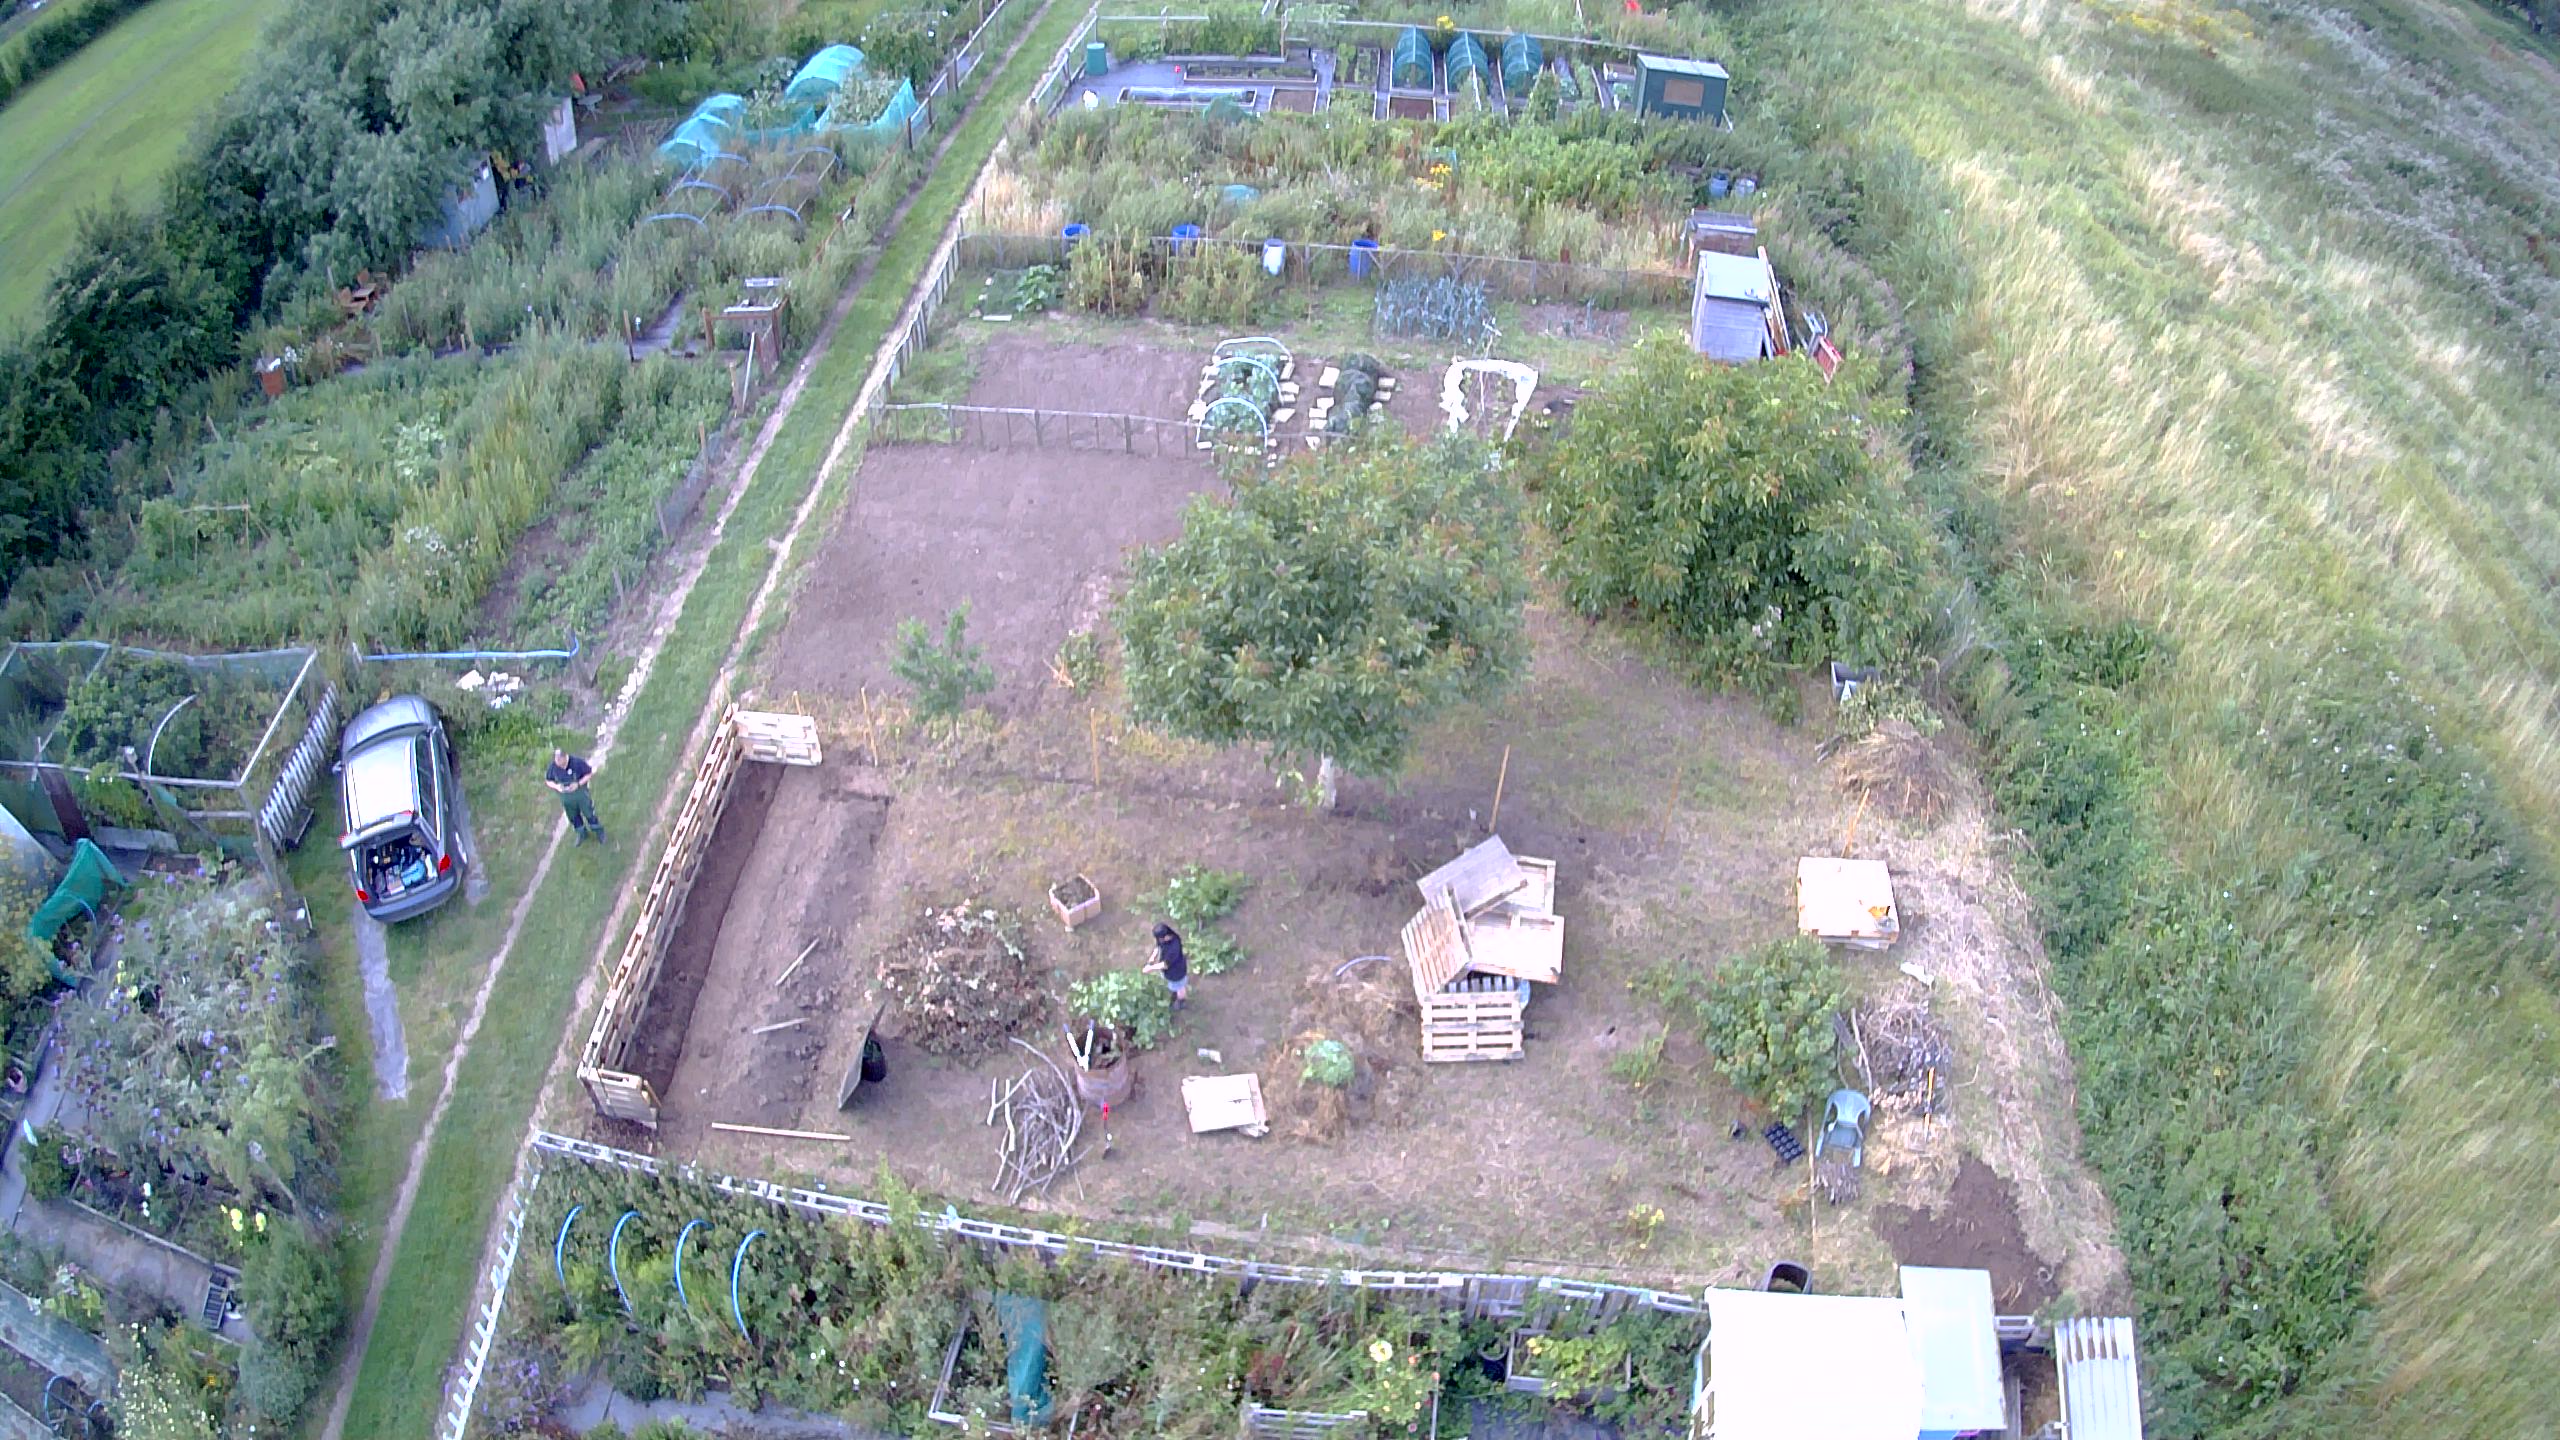
The drone photo below is an early one taken August 2021 of the plot after we commenced ground-works, clearing the site and building some raised beds.

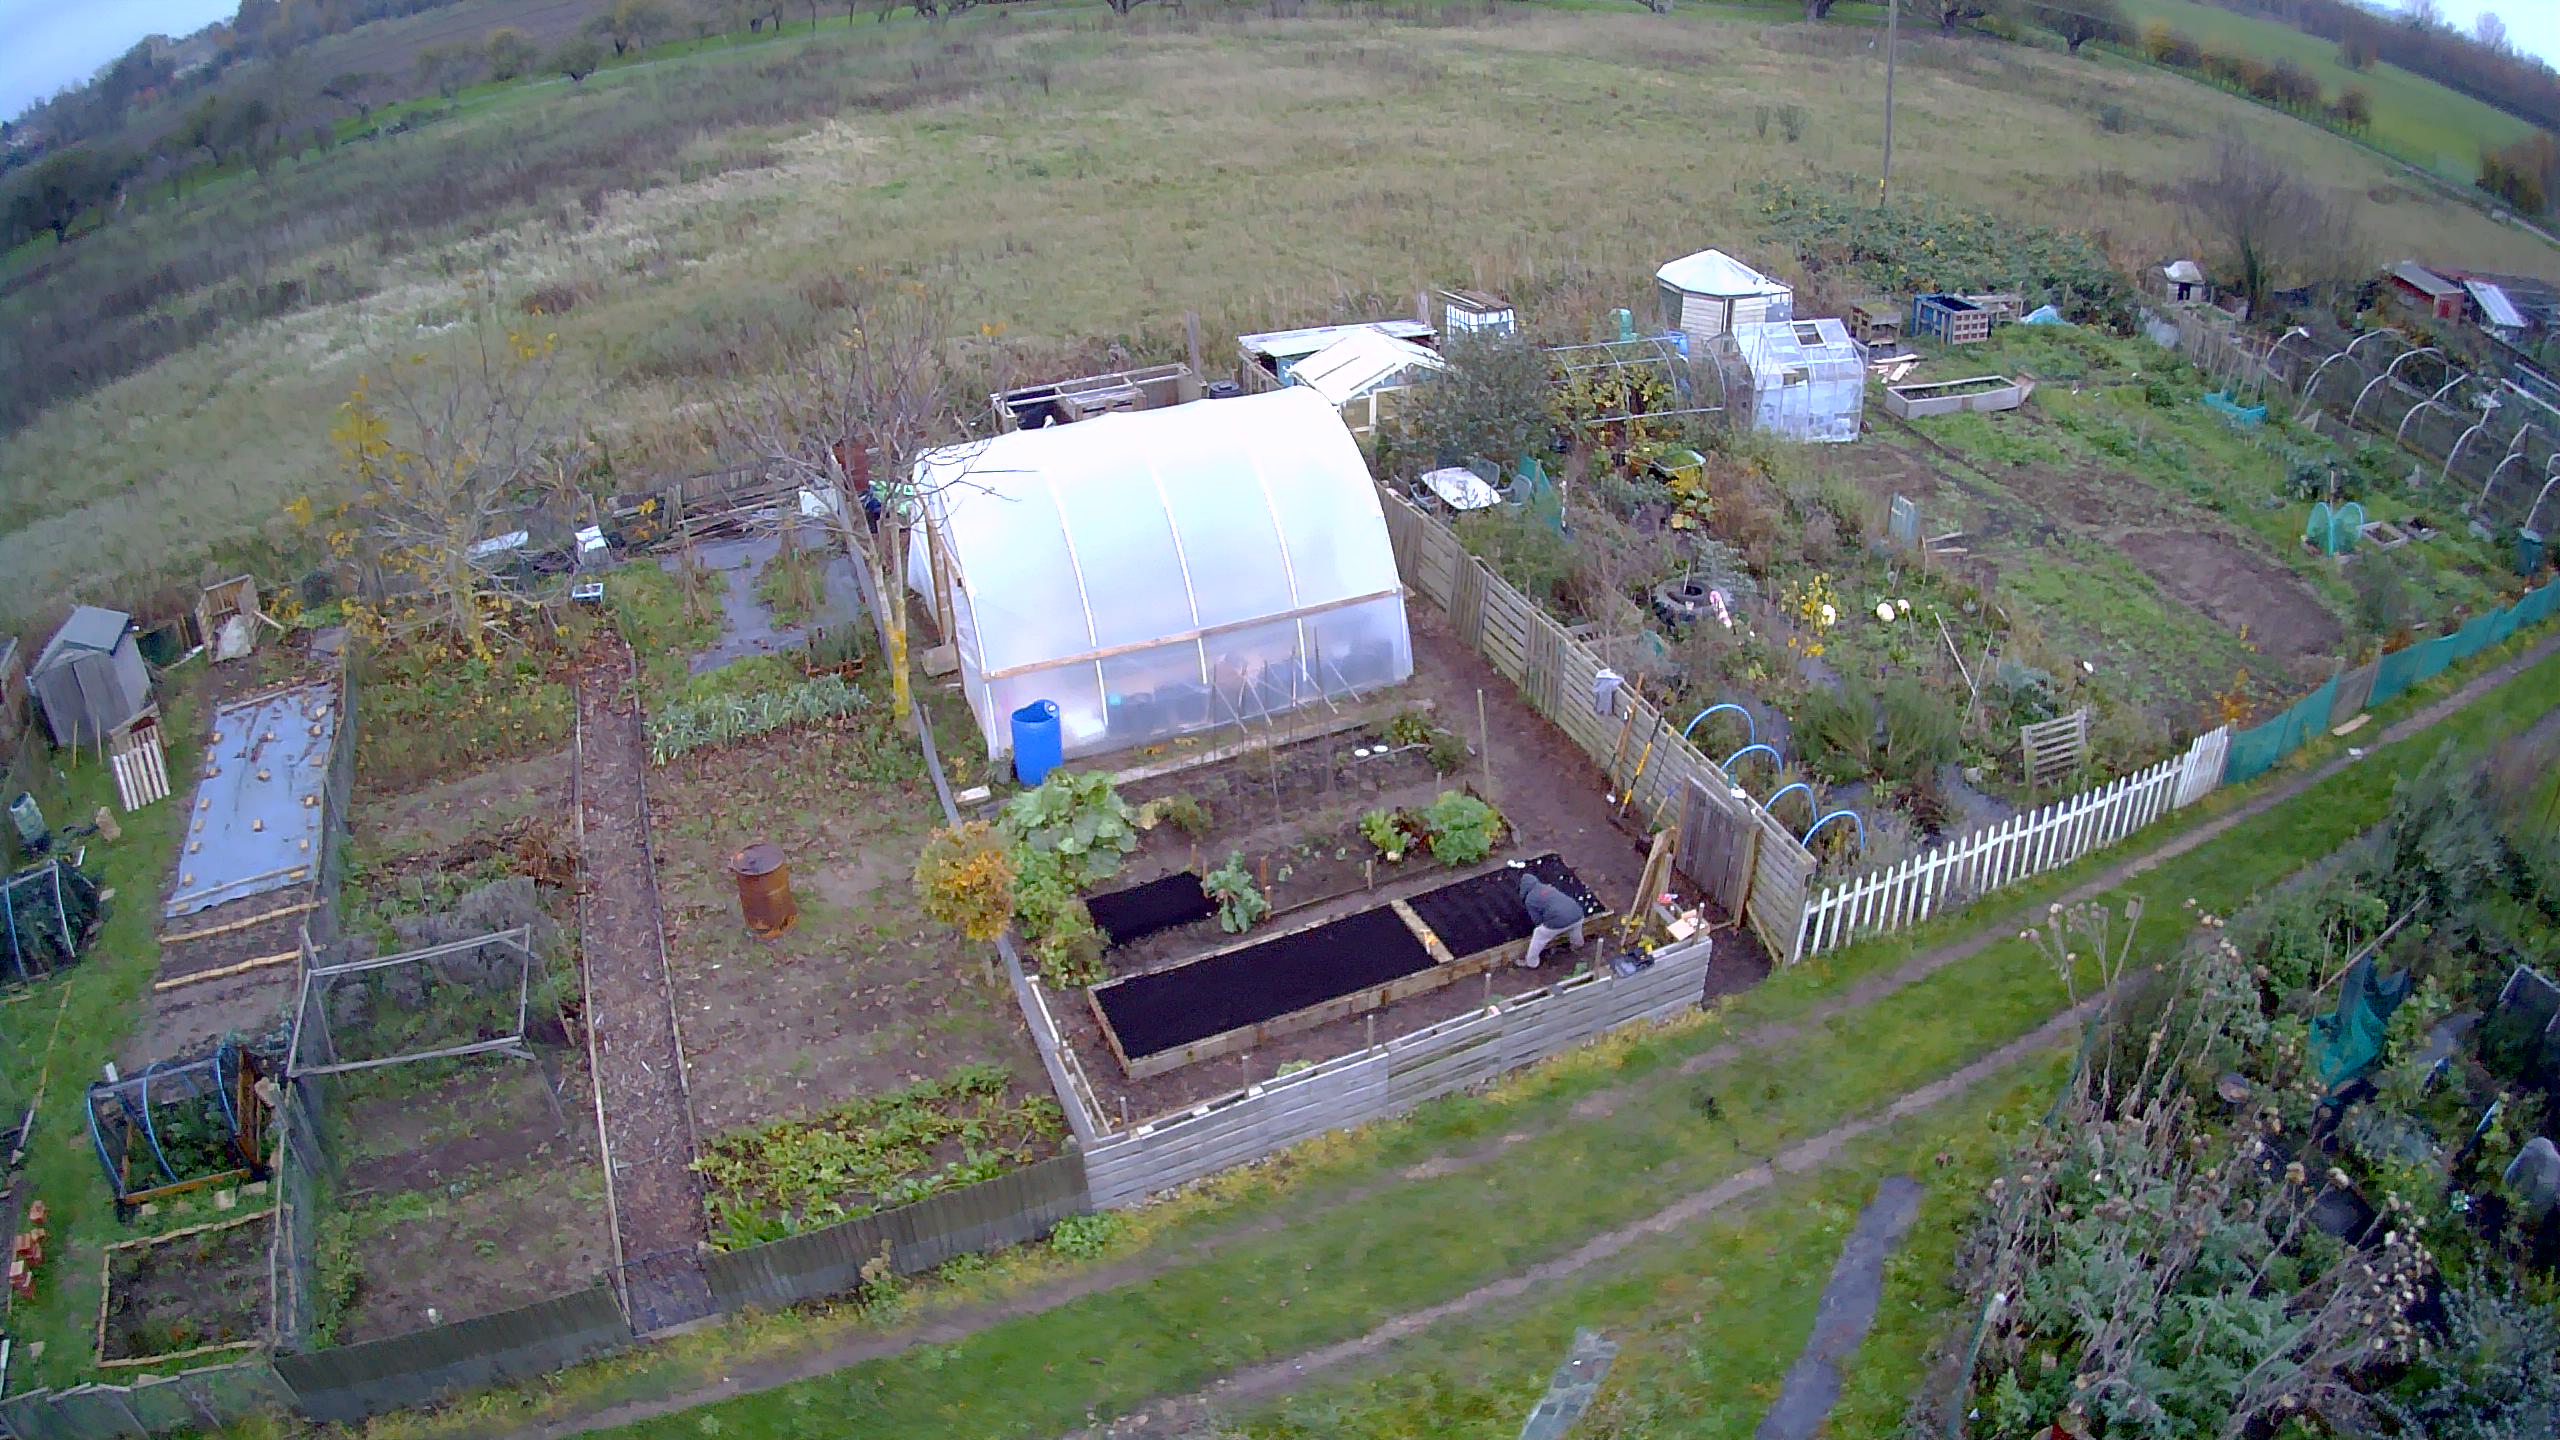
Below is from November 2022 – with the pollytunnel built. We were lucky enough to get some pollytunnel frame for free from some local farmers, so only had to buy the polythene and some timber. It’s short, but high, and has yielded us some excellent crops of tomatoes and chillies.

We’ve since taken on the plot to the right above and commenced clearing and reconfiguring that – I’ll need to get some fresh drone photos.